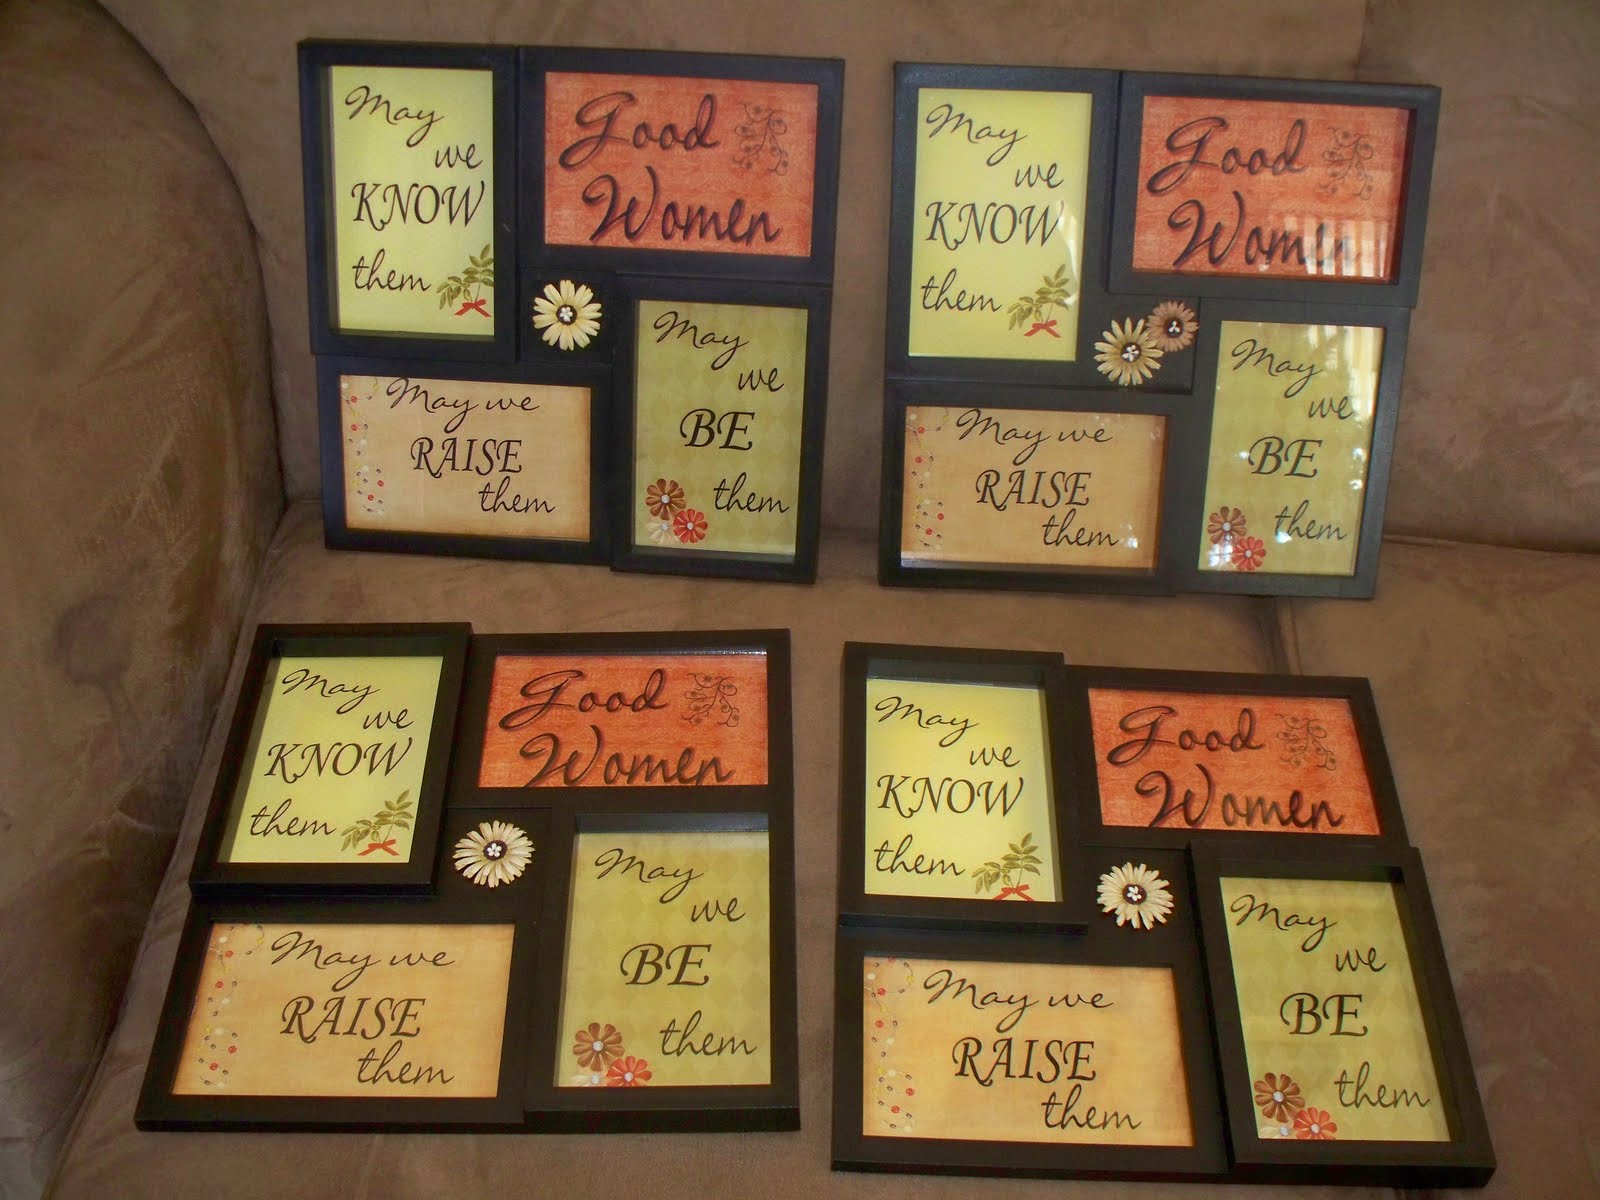
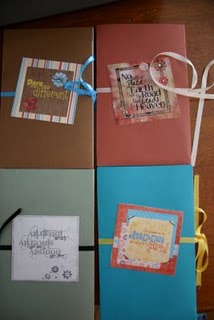
 A version of a craft that I made a couple years back....crafts have come a long way haven't they. This is one of my favorite sayings!!! I made these as Christmas gifts for some dear women in my life.
I wanted (needed) a place to keep track of all my little crafty projects..I do go back and use some of them over and over. So - why not a blog where I can also share them with you!
A version of a craft that I made a couple years back....crafts have come a long way haven't they. This is one of my favorite sayings!!! I made these as Christmas gifts for some dear women in my life.
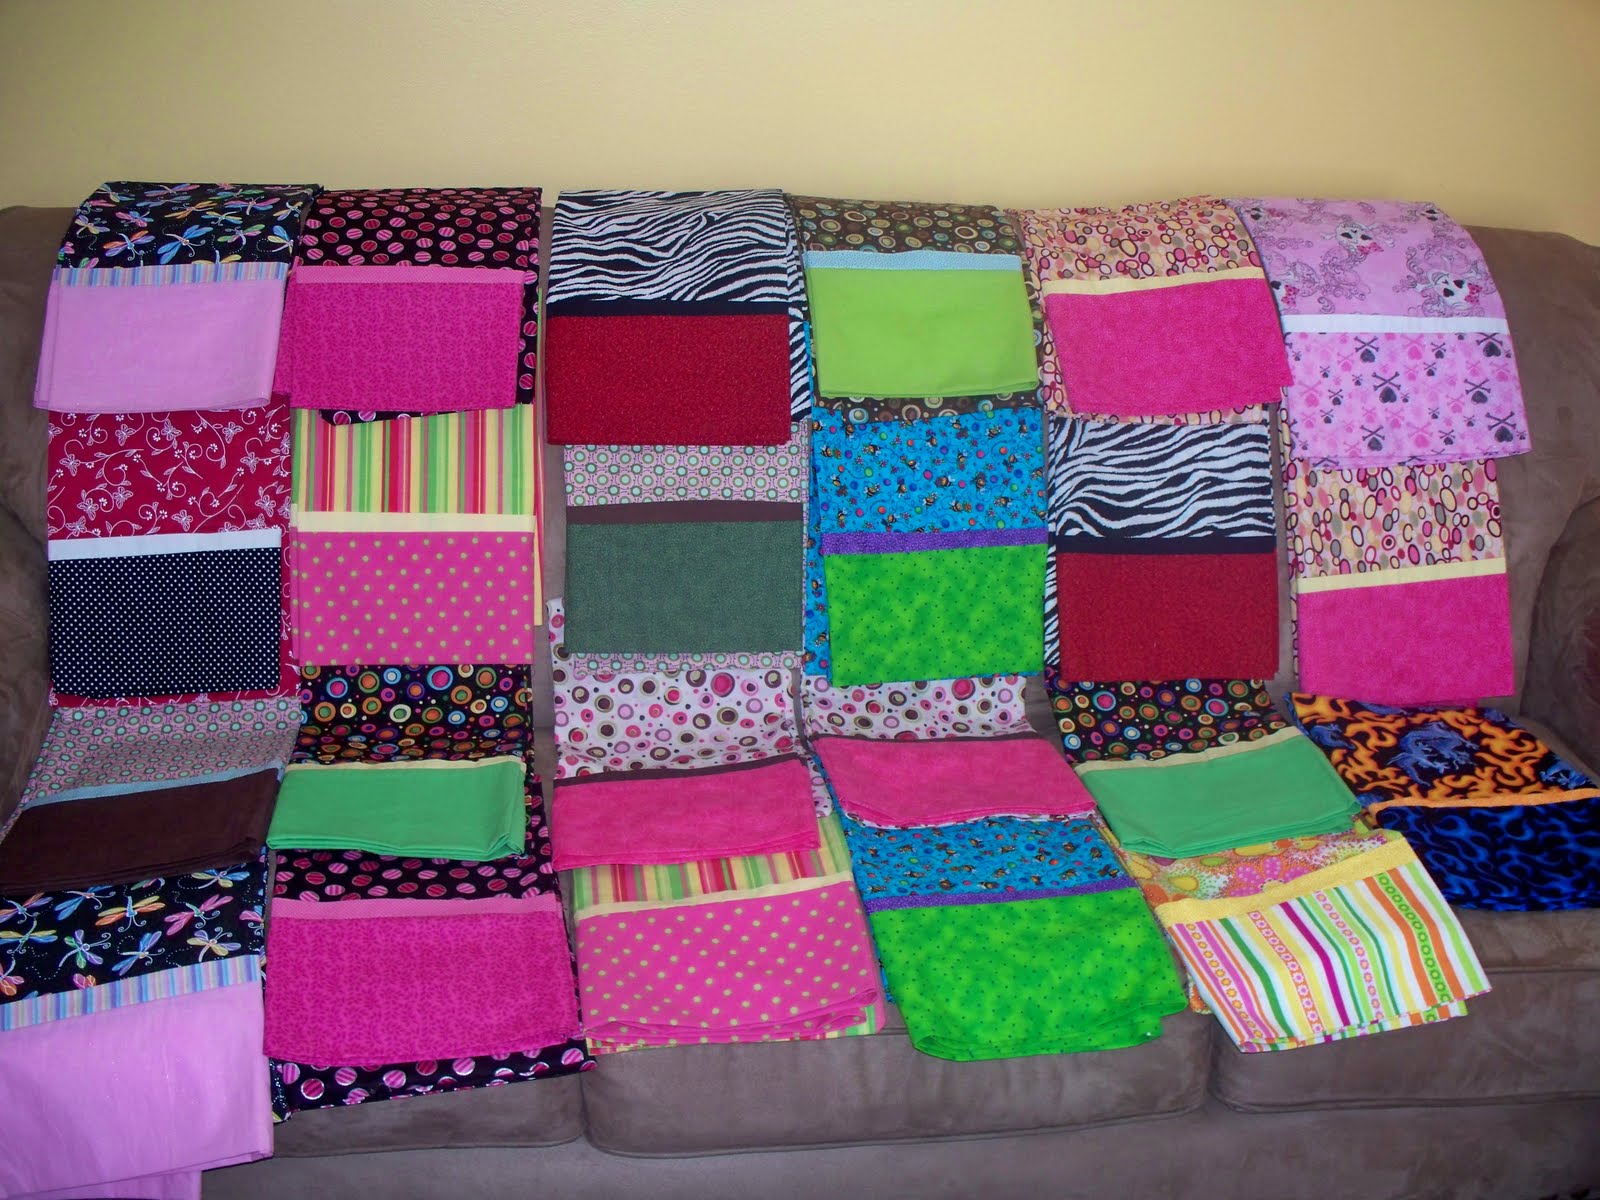 This might have proven to be a slightly crazy idea - but FUN!!!I think I ended up making abot 20-25 pillowcases. I think picking out the fabric was half the FUN!!! We made these for our YW for Christmas and gave it to them along with this scripture:
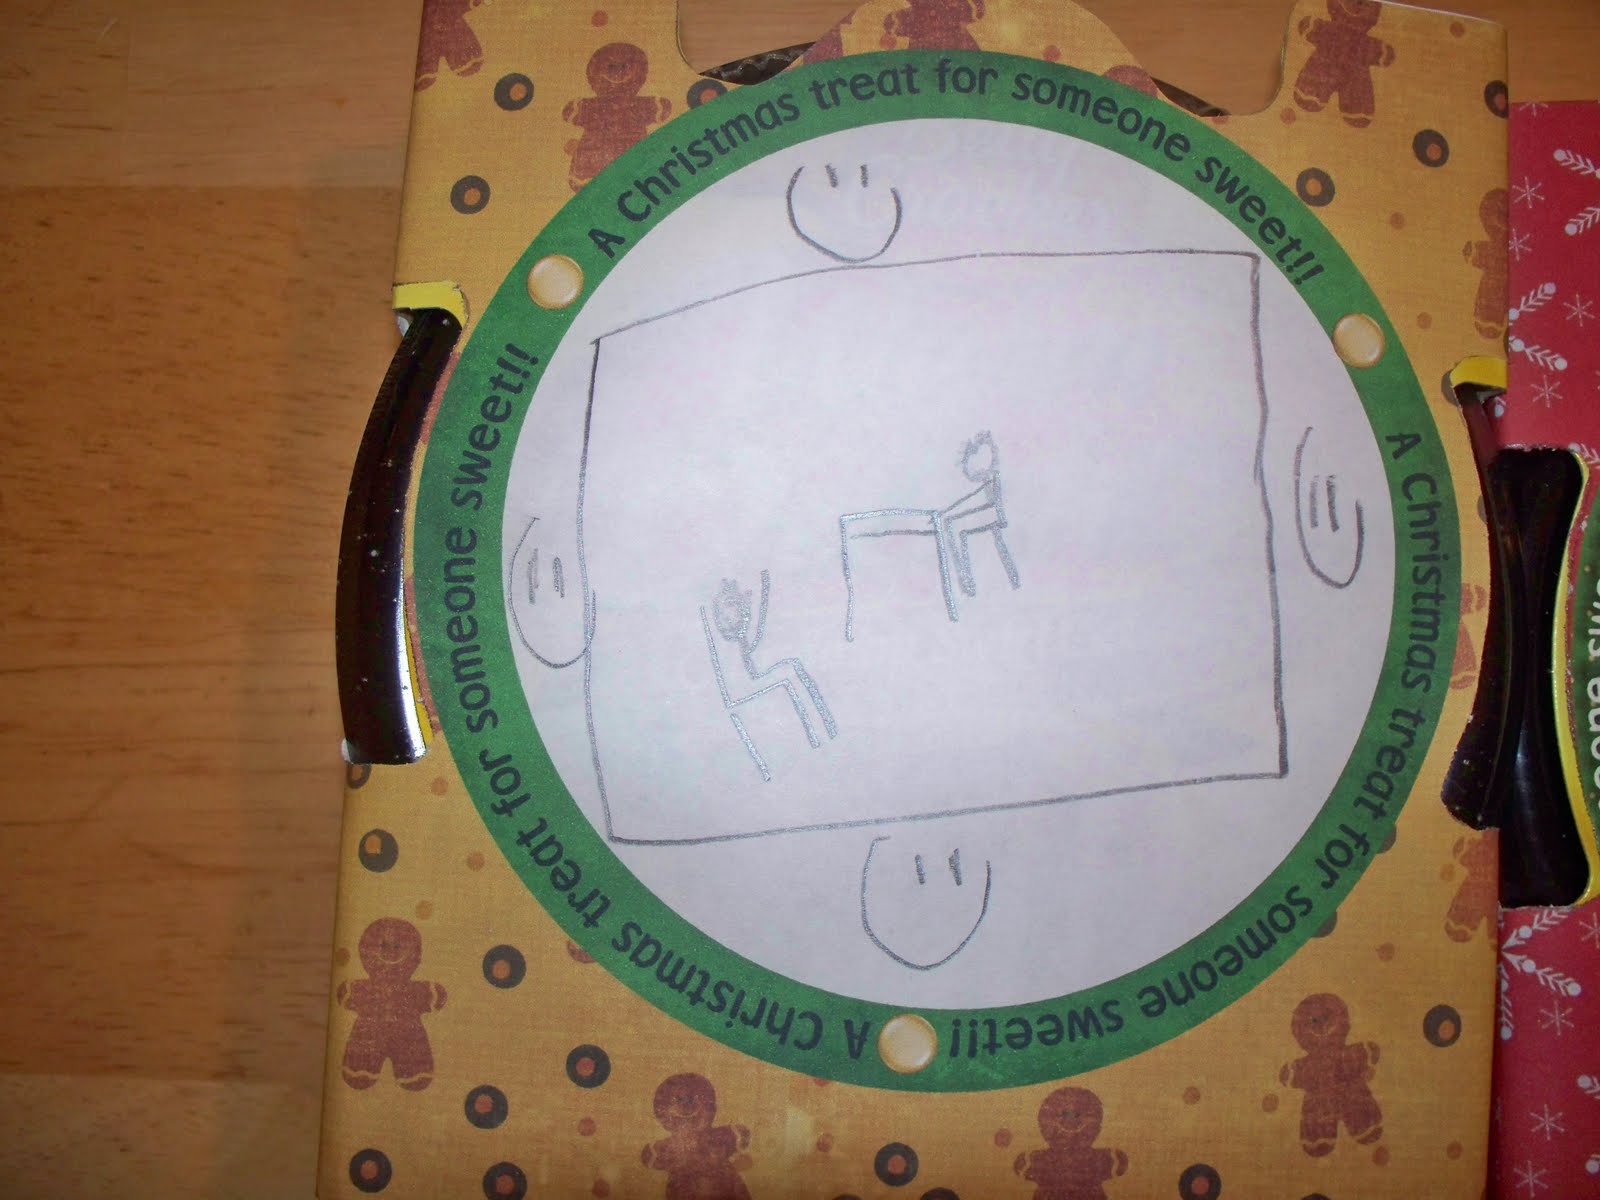
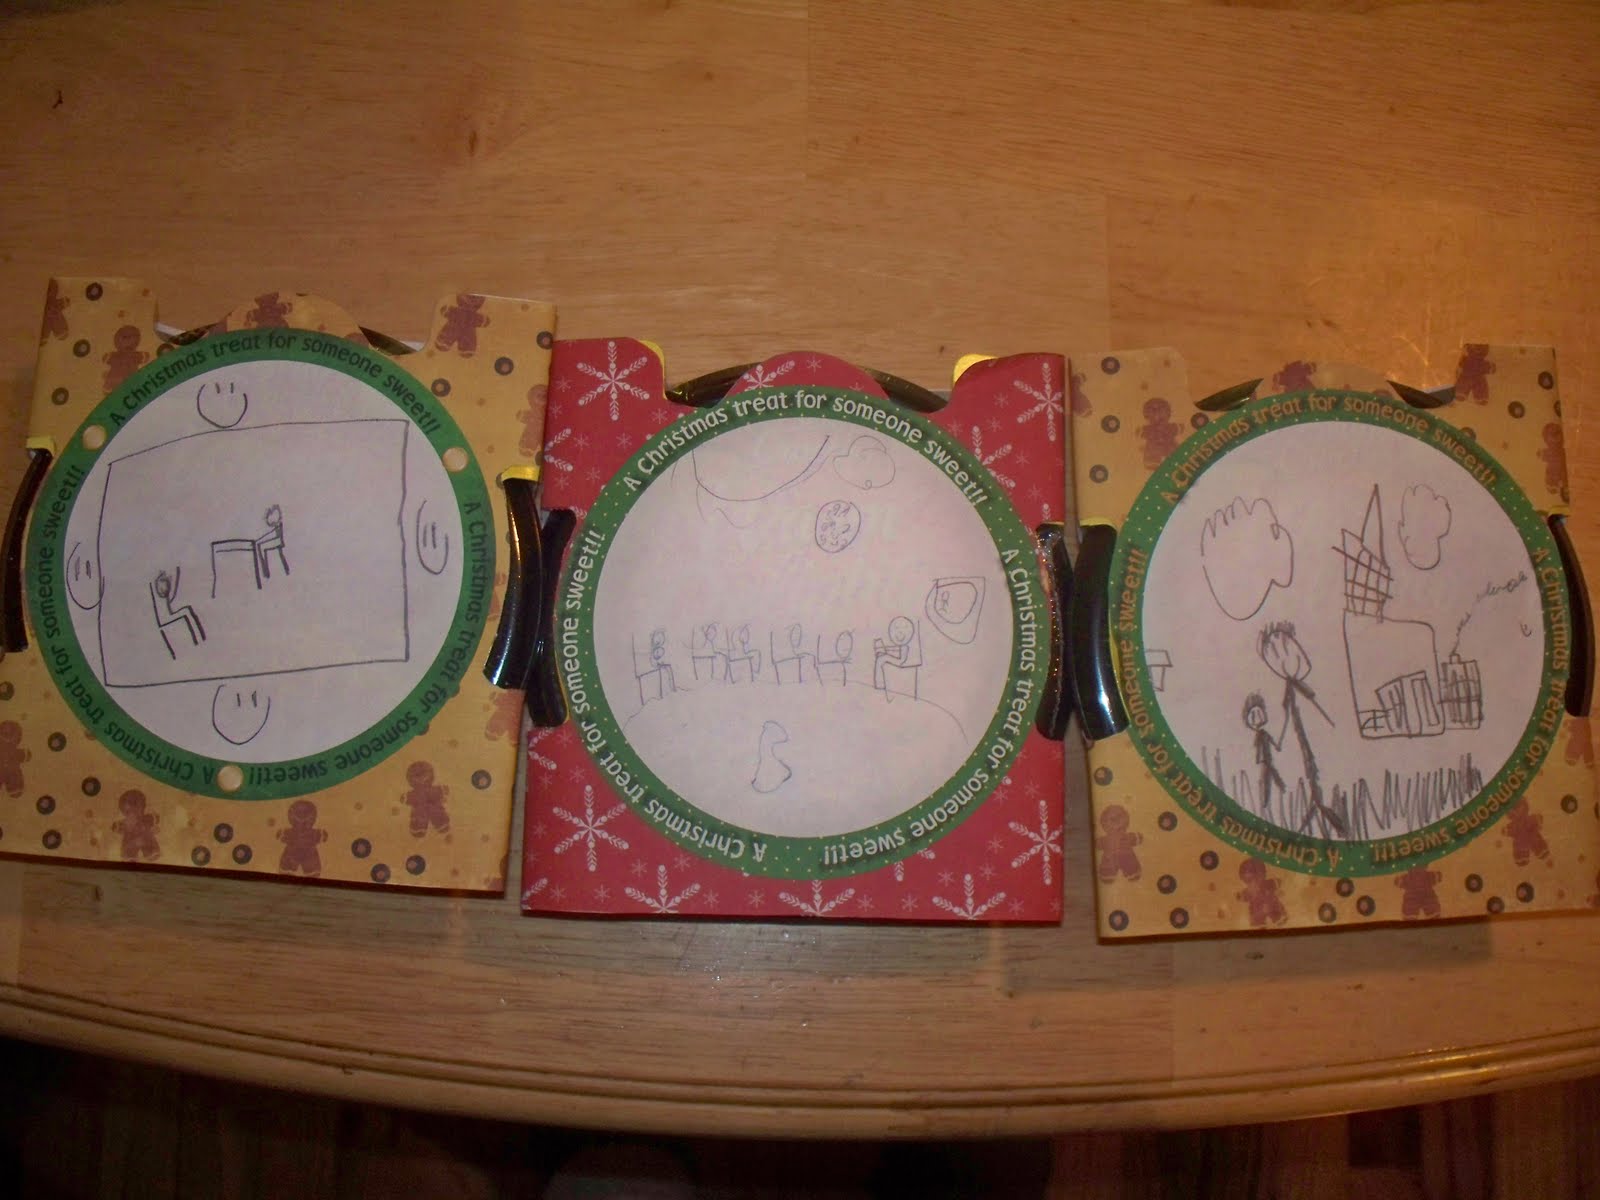 Calista drew a pic of her Primary class
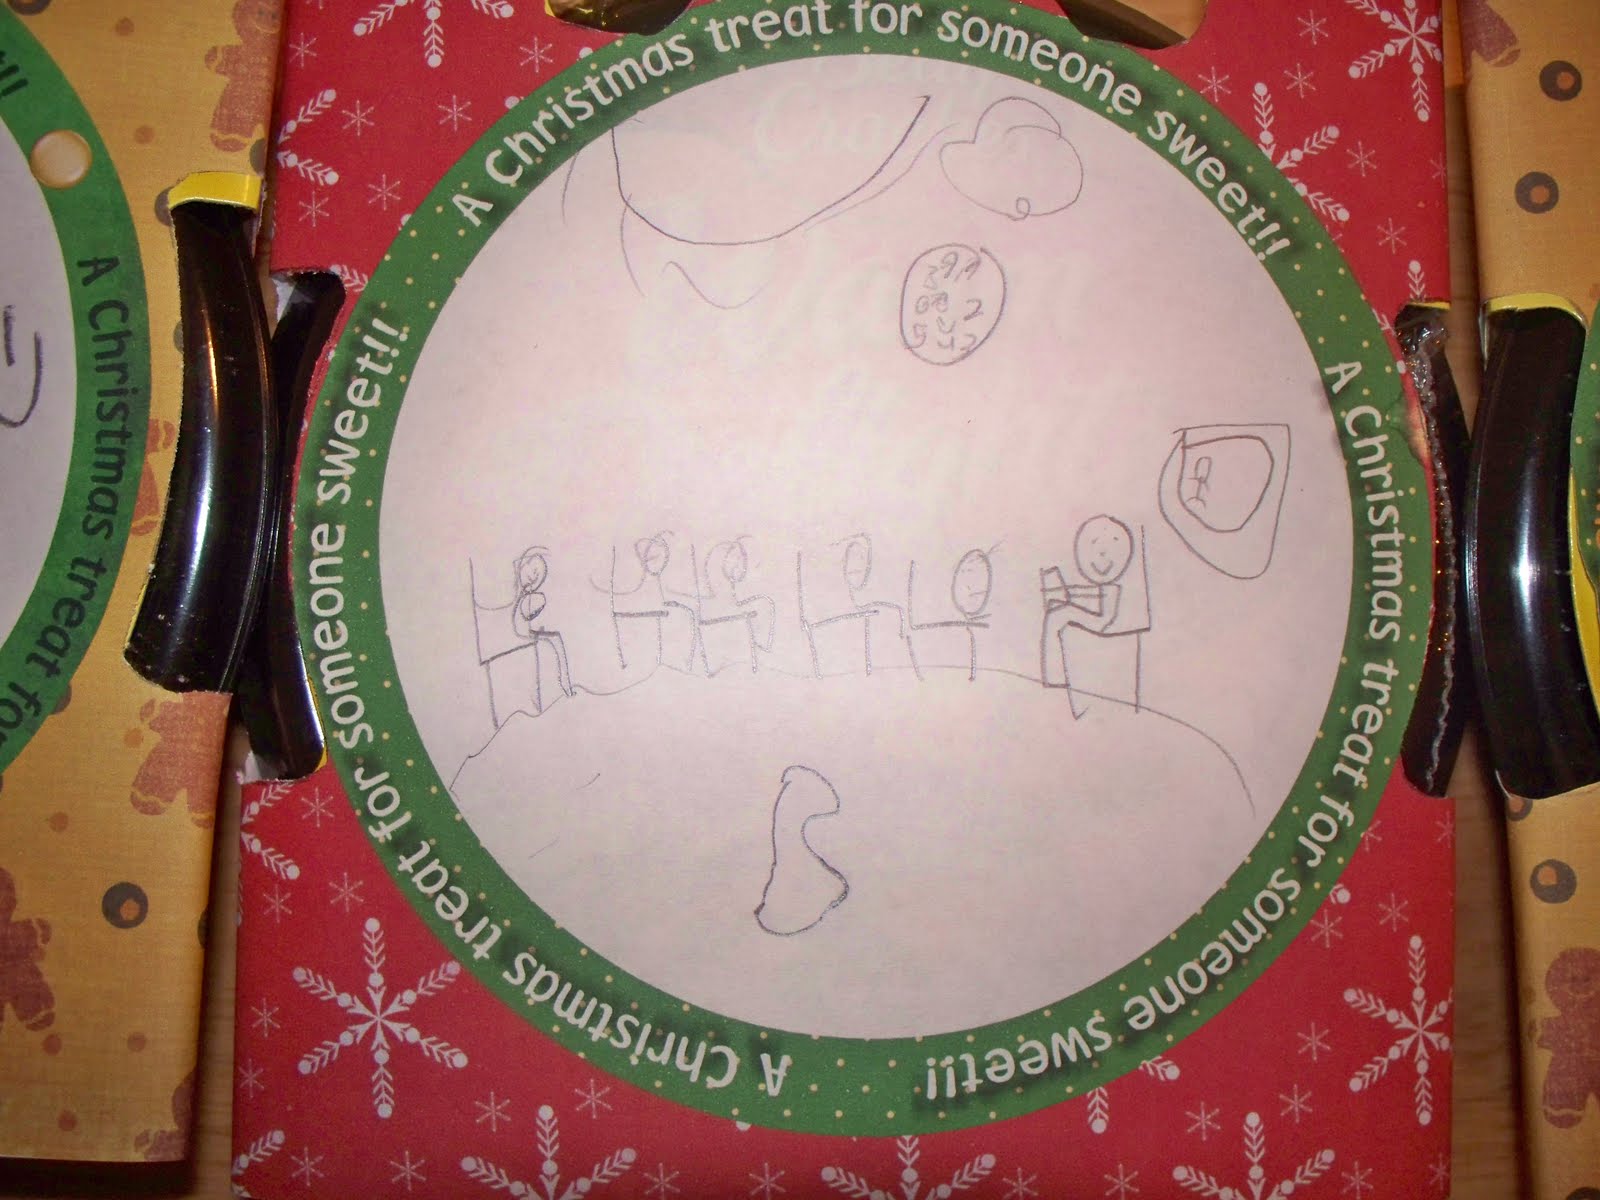


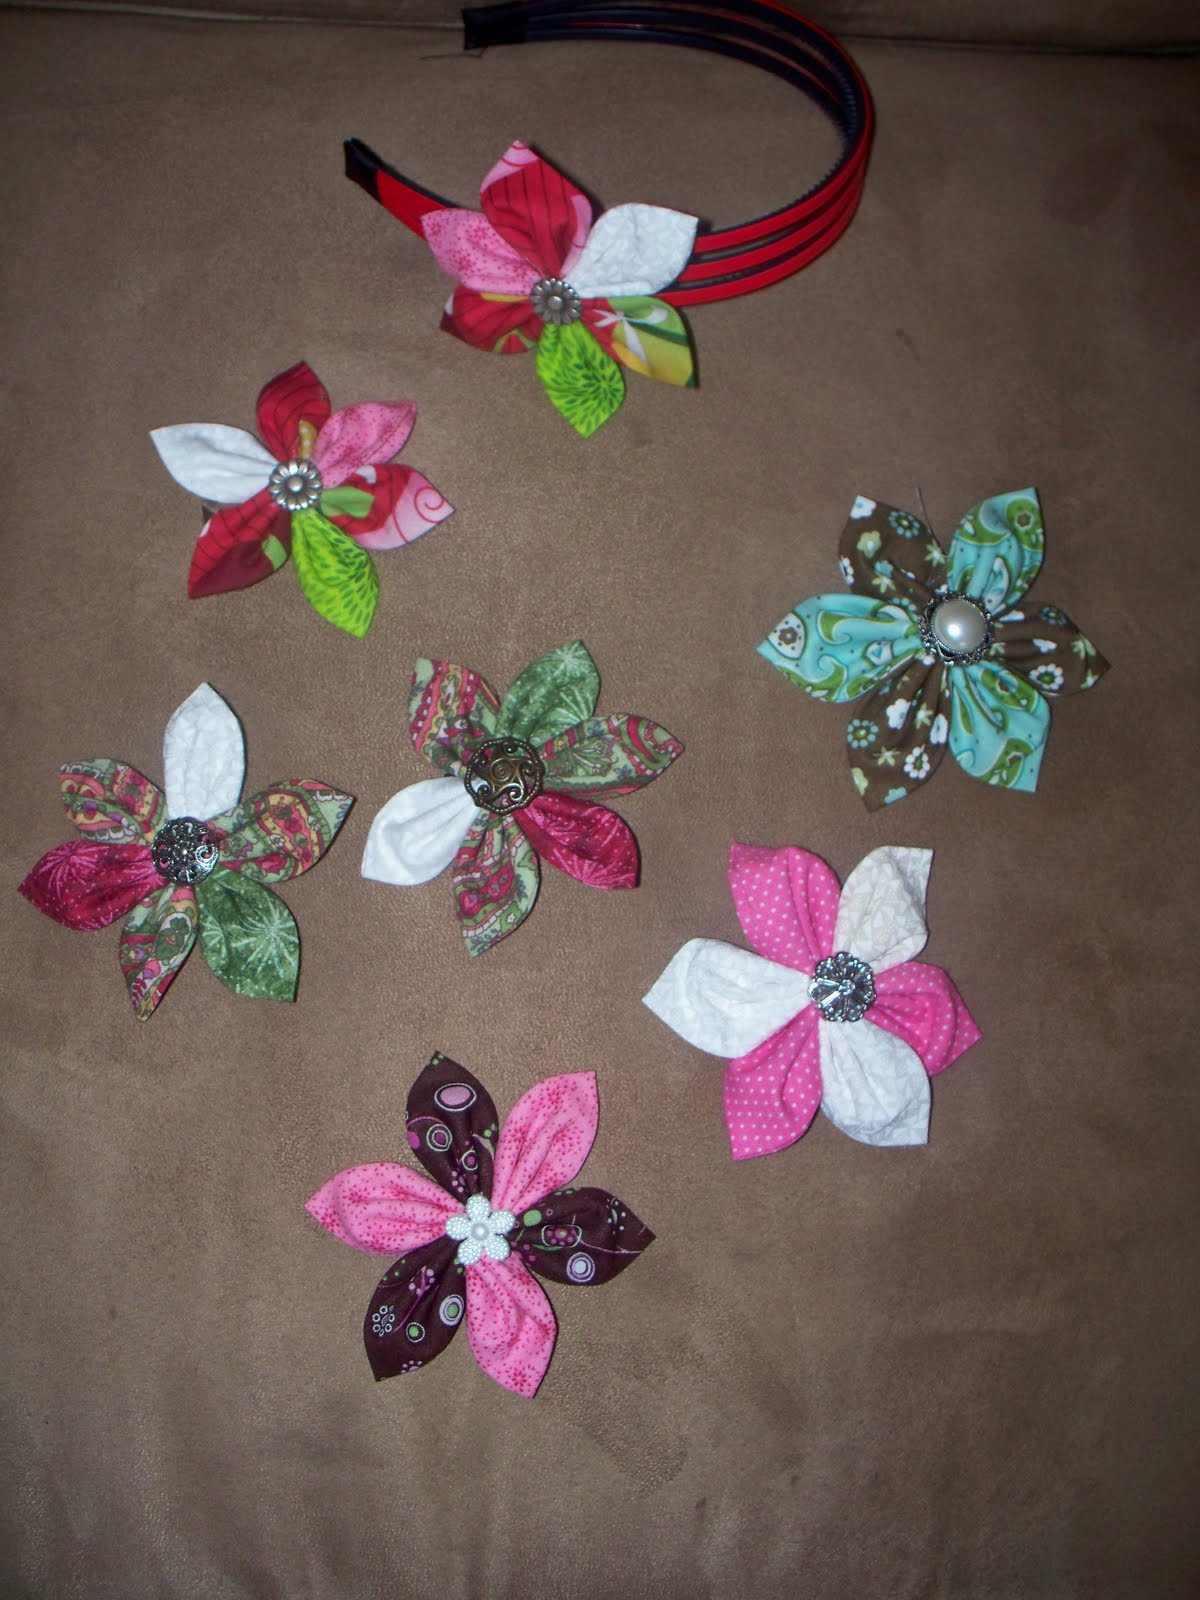 Came across the idea for these on THIS BLOG. Easy enough for anyone....these are super fun. You can make them as big or as small as you would like. If you are going to make a lot of them, I know that there is a circle fabric cutter that can be purchased that would make these a snap!
 I didn't take pictures of the ones that I made, but fortunately my sister made some and sent me some pics. We used these as centerpieces for one of our Relief Society meetings and then had a drawing to win them. Sometimes we use the drawings as an incentive to get sisters to show up on time..if they get on time, their name is entered into the drawing.
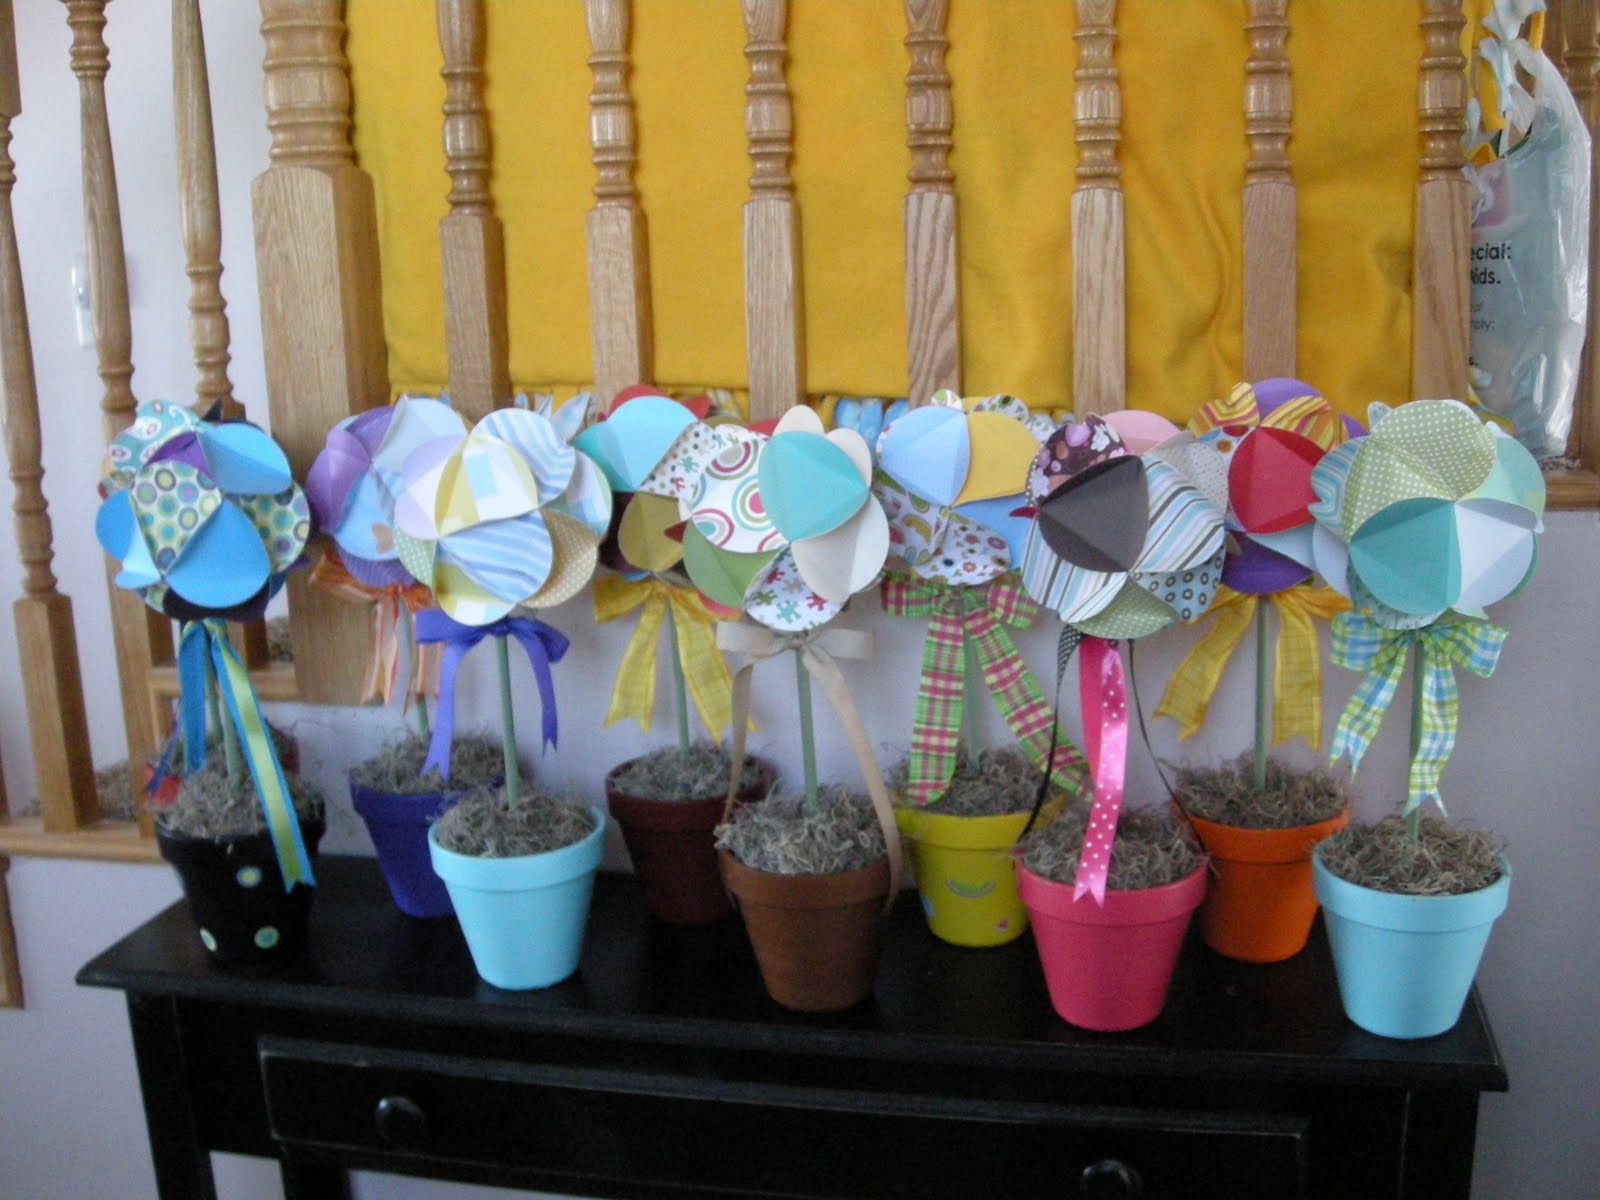


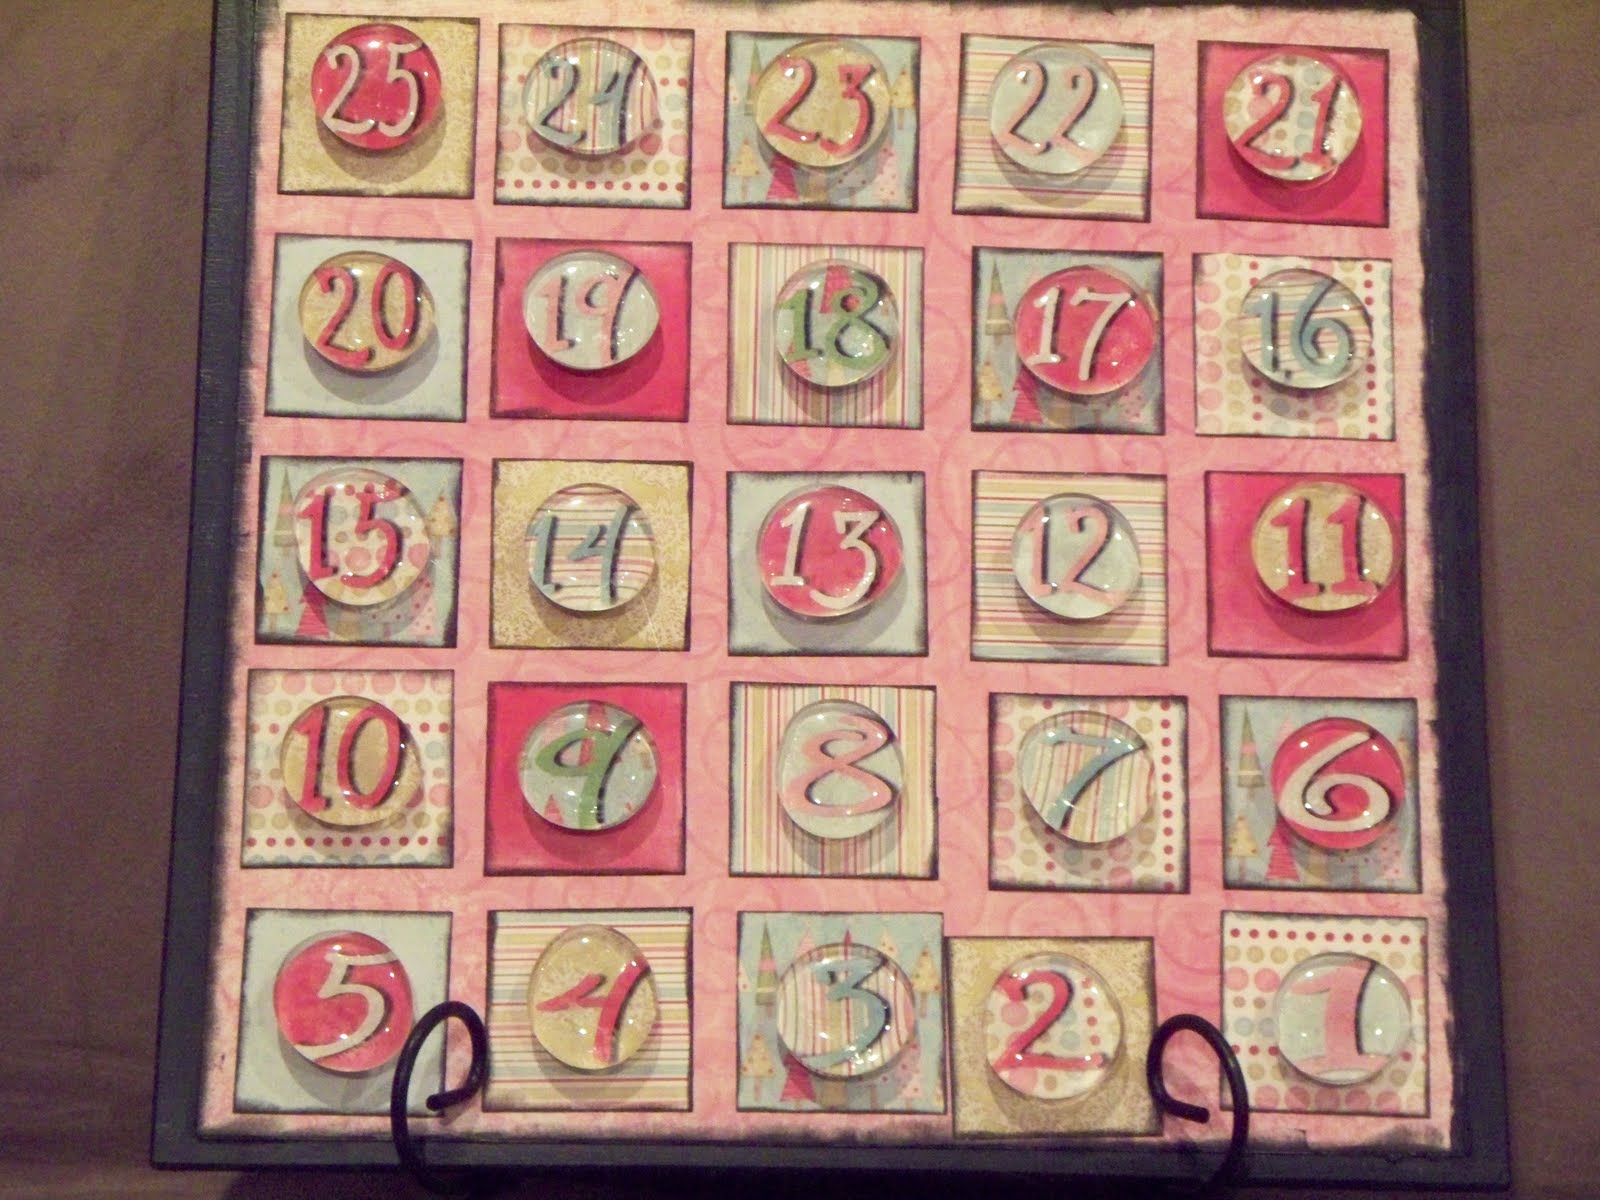
 And just because Christmas is only 4 months away - I thought I better get a jump on this one - a countdown to Christmas. (I made something with this paper last Christmas and needed more to make this but I couldn't find any. So, I searched the internet and found it has been digitalized..OH I love my digital papers!!!) Instructions can be found HERE
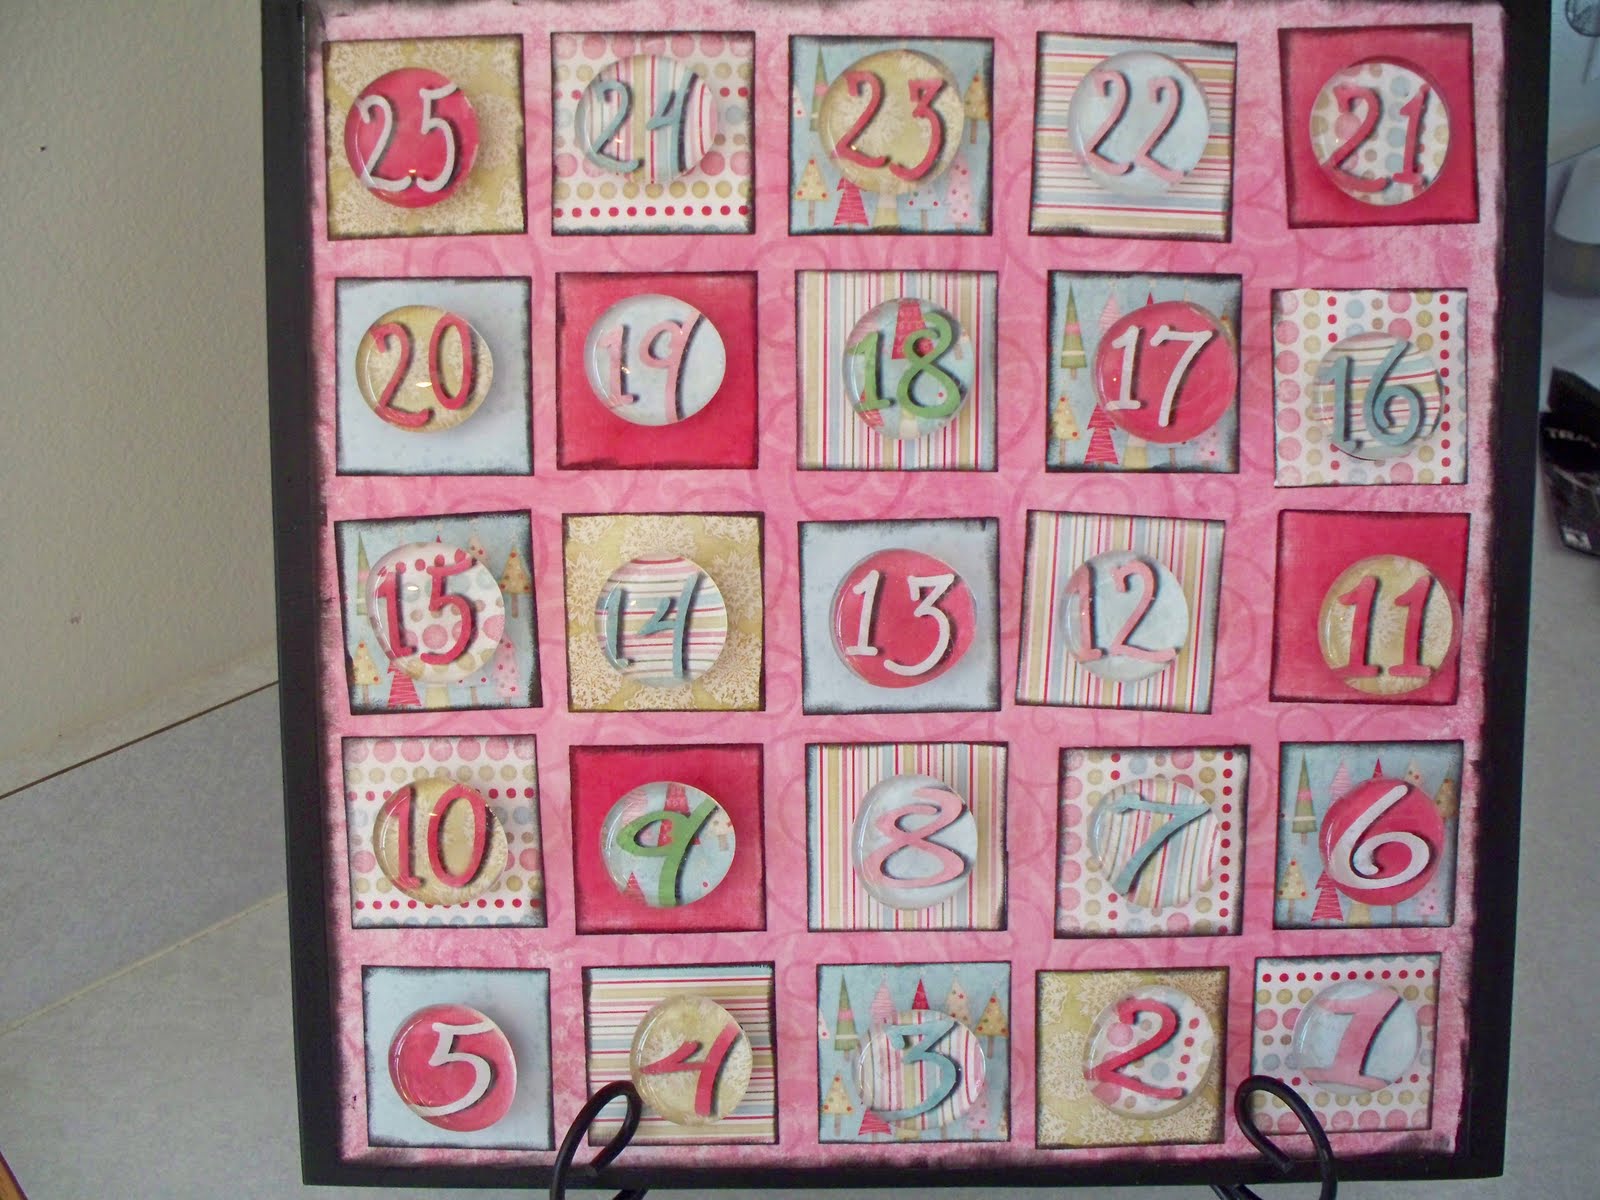

 Here's what you'll need:
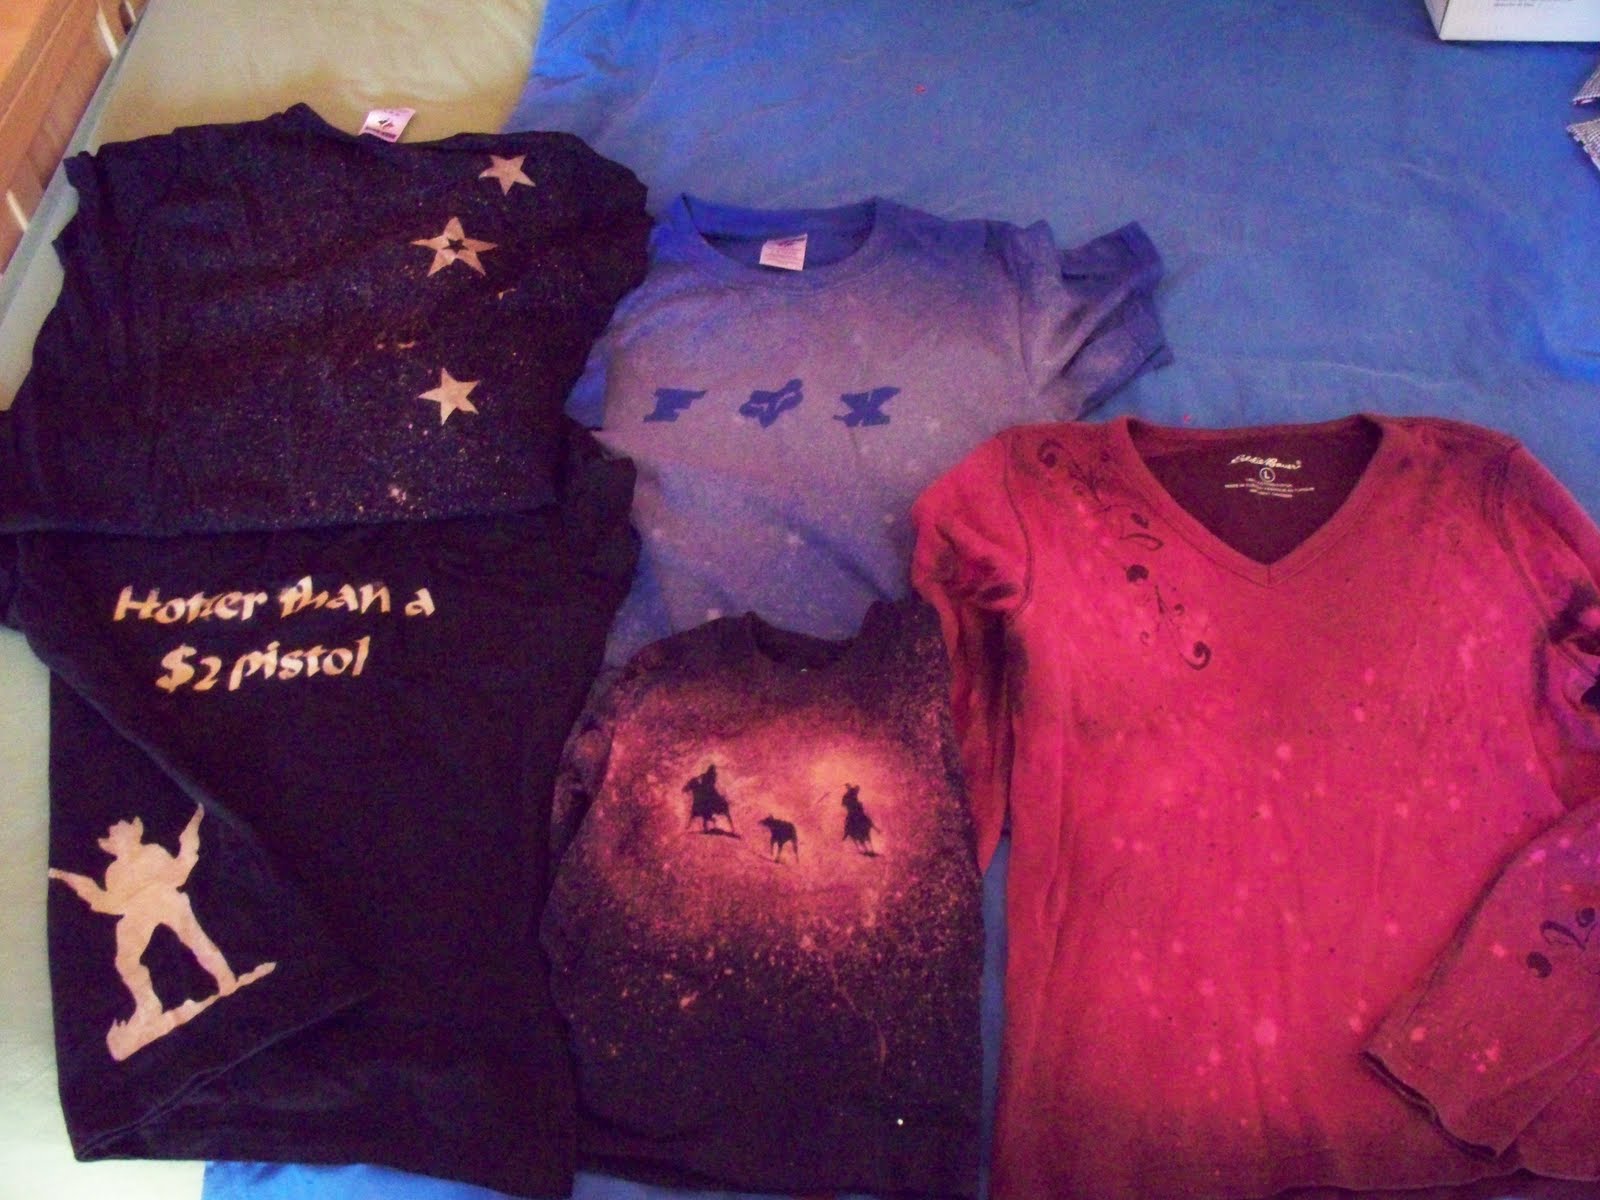

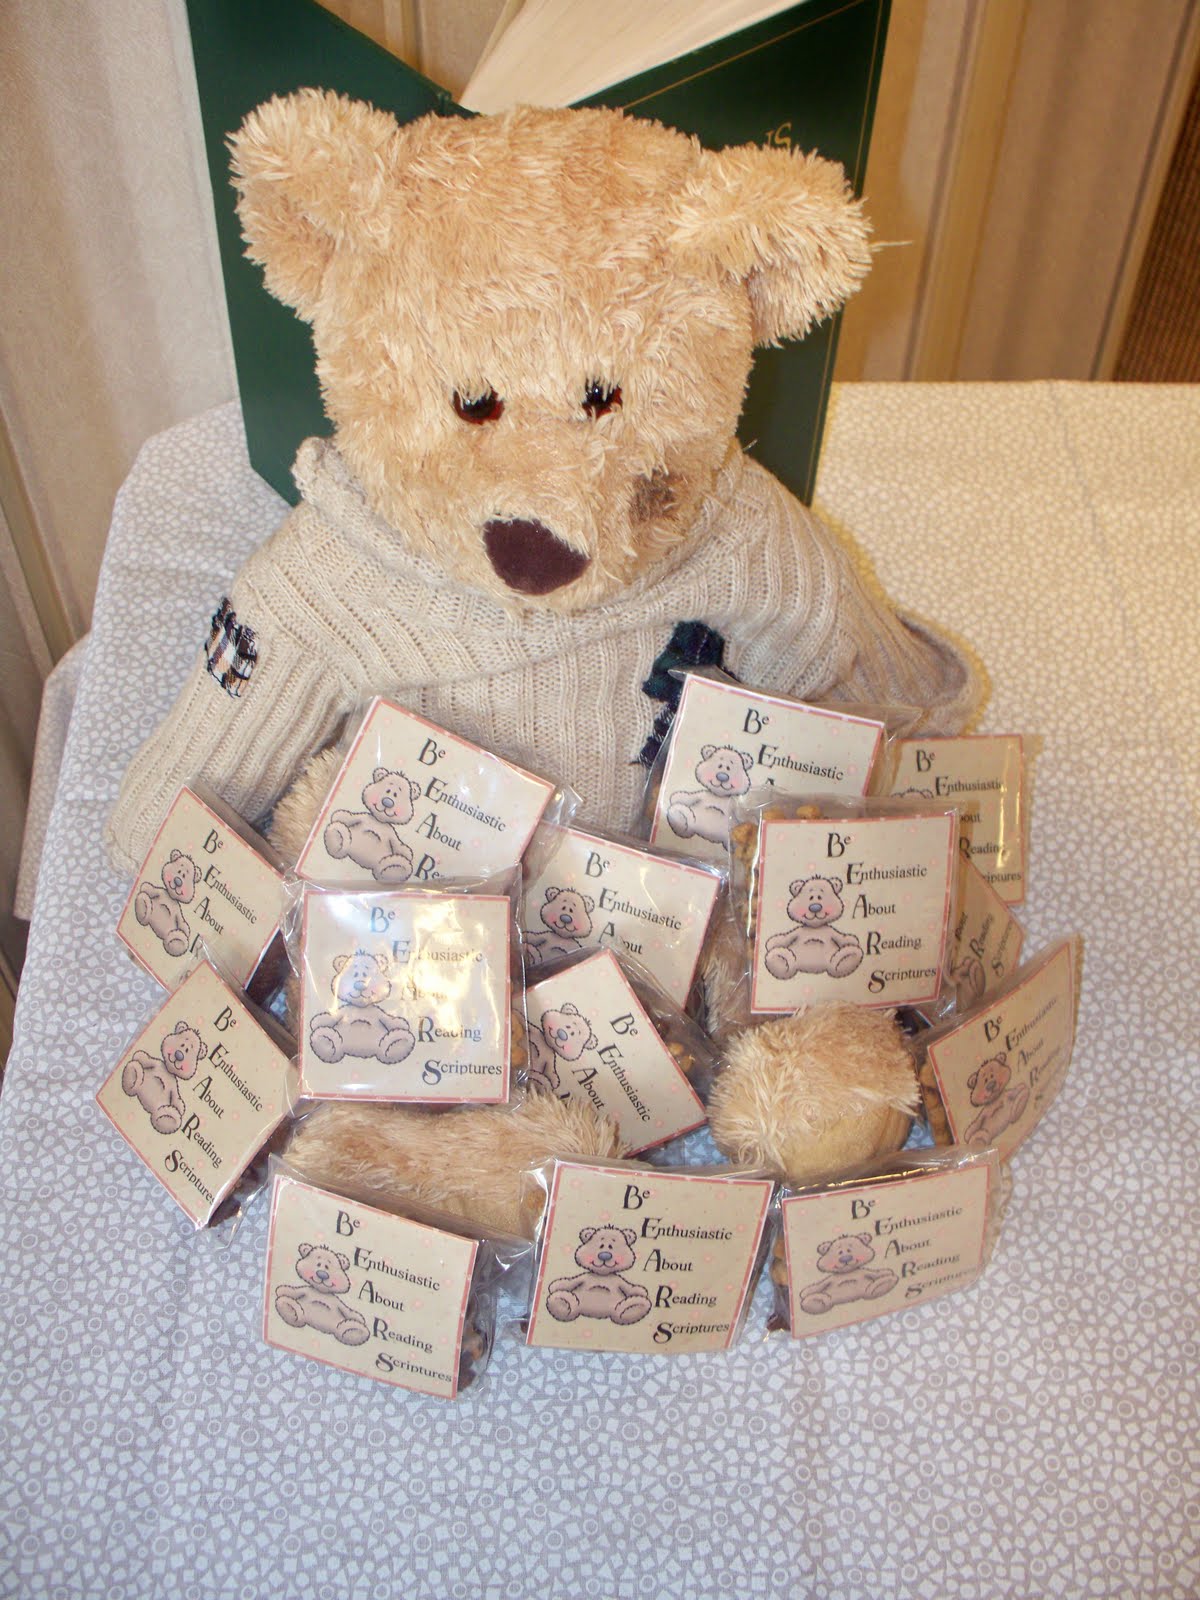
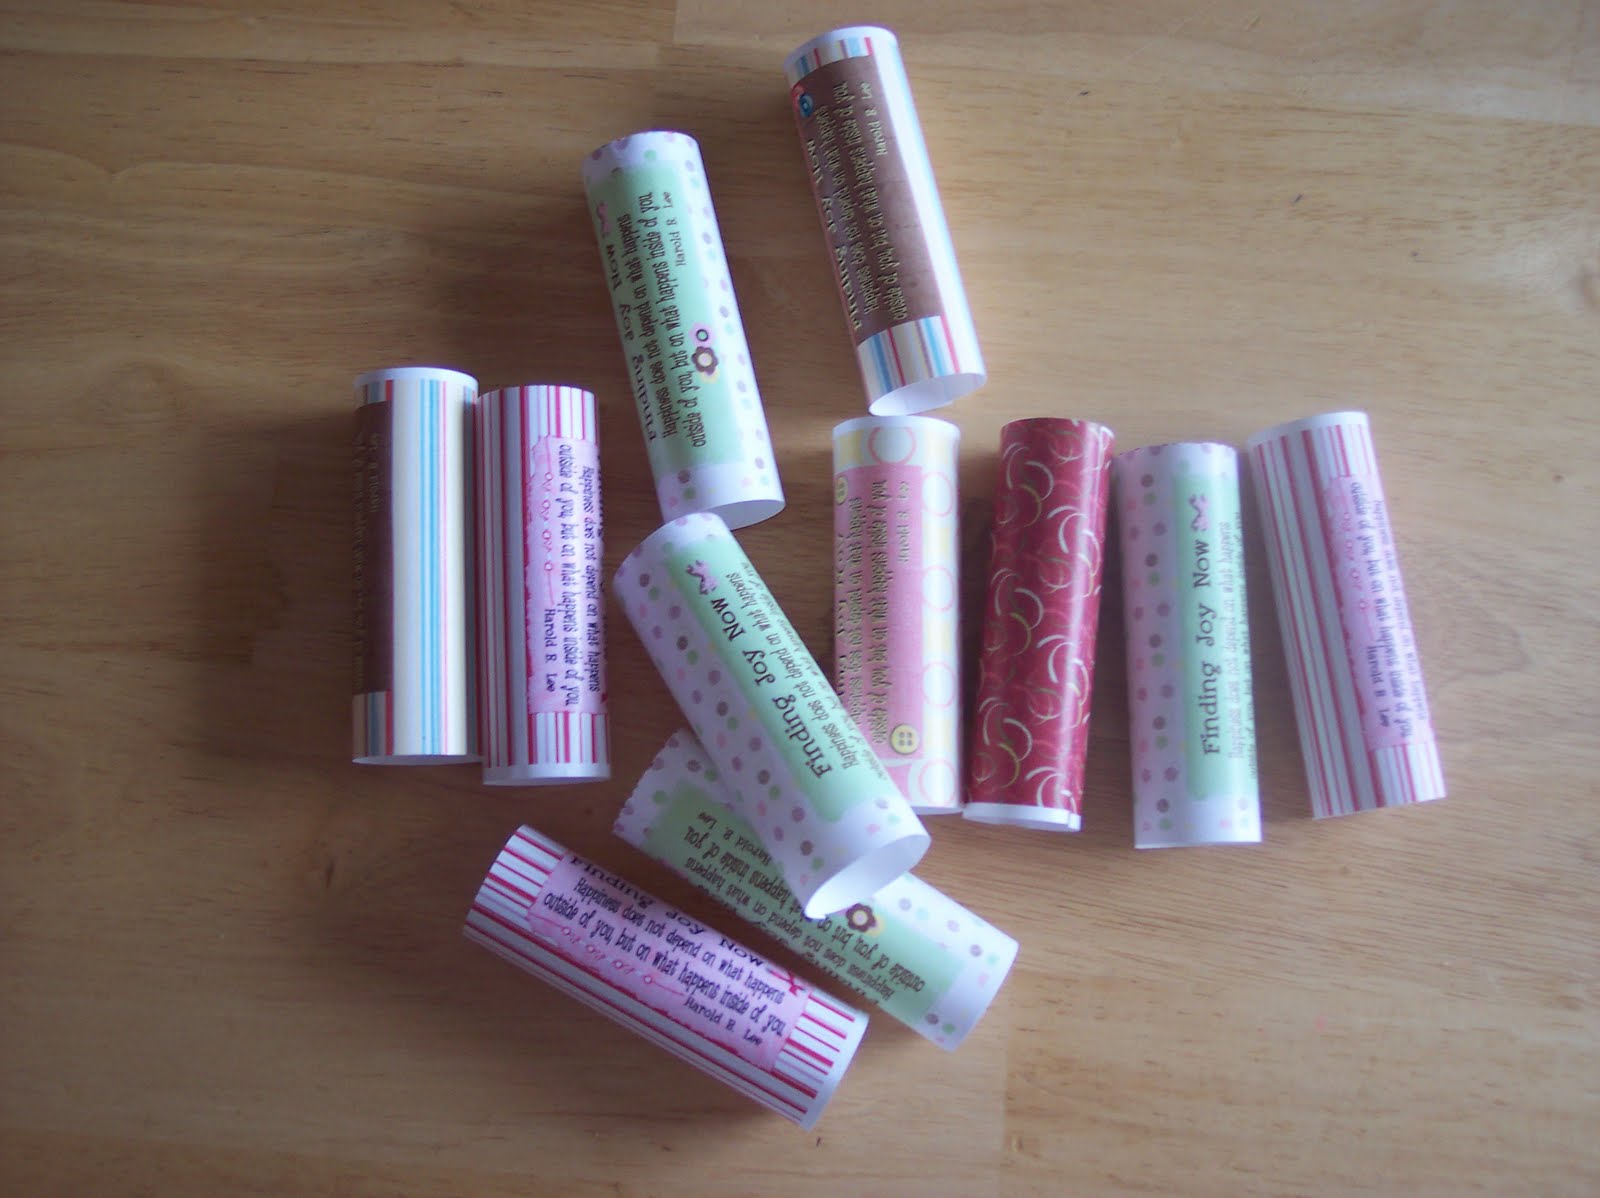
 This is a handout that I did for a YW lesson about finding JOY in our lives. I have used this technique in the past to cover all kinds of treats - Hershey Stix, M&M's, etc.
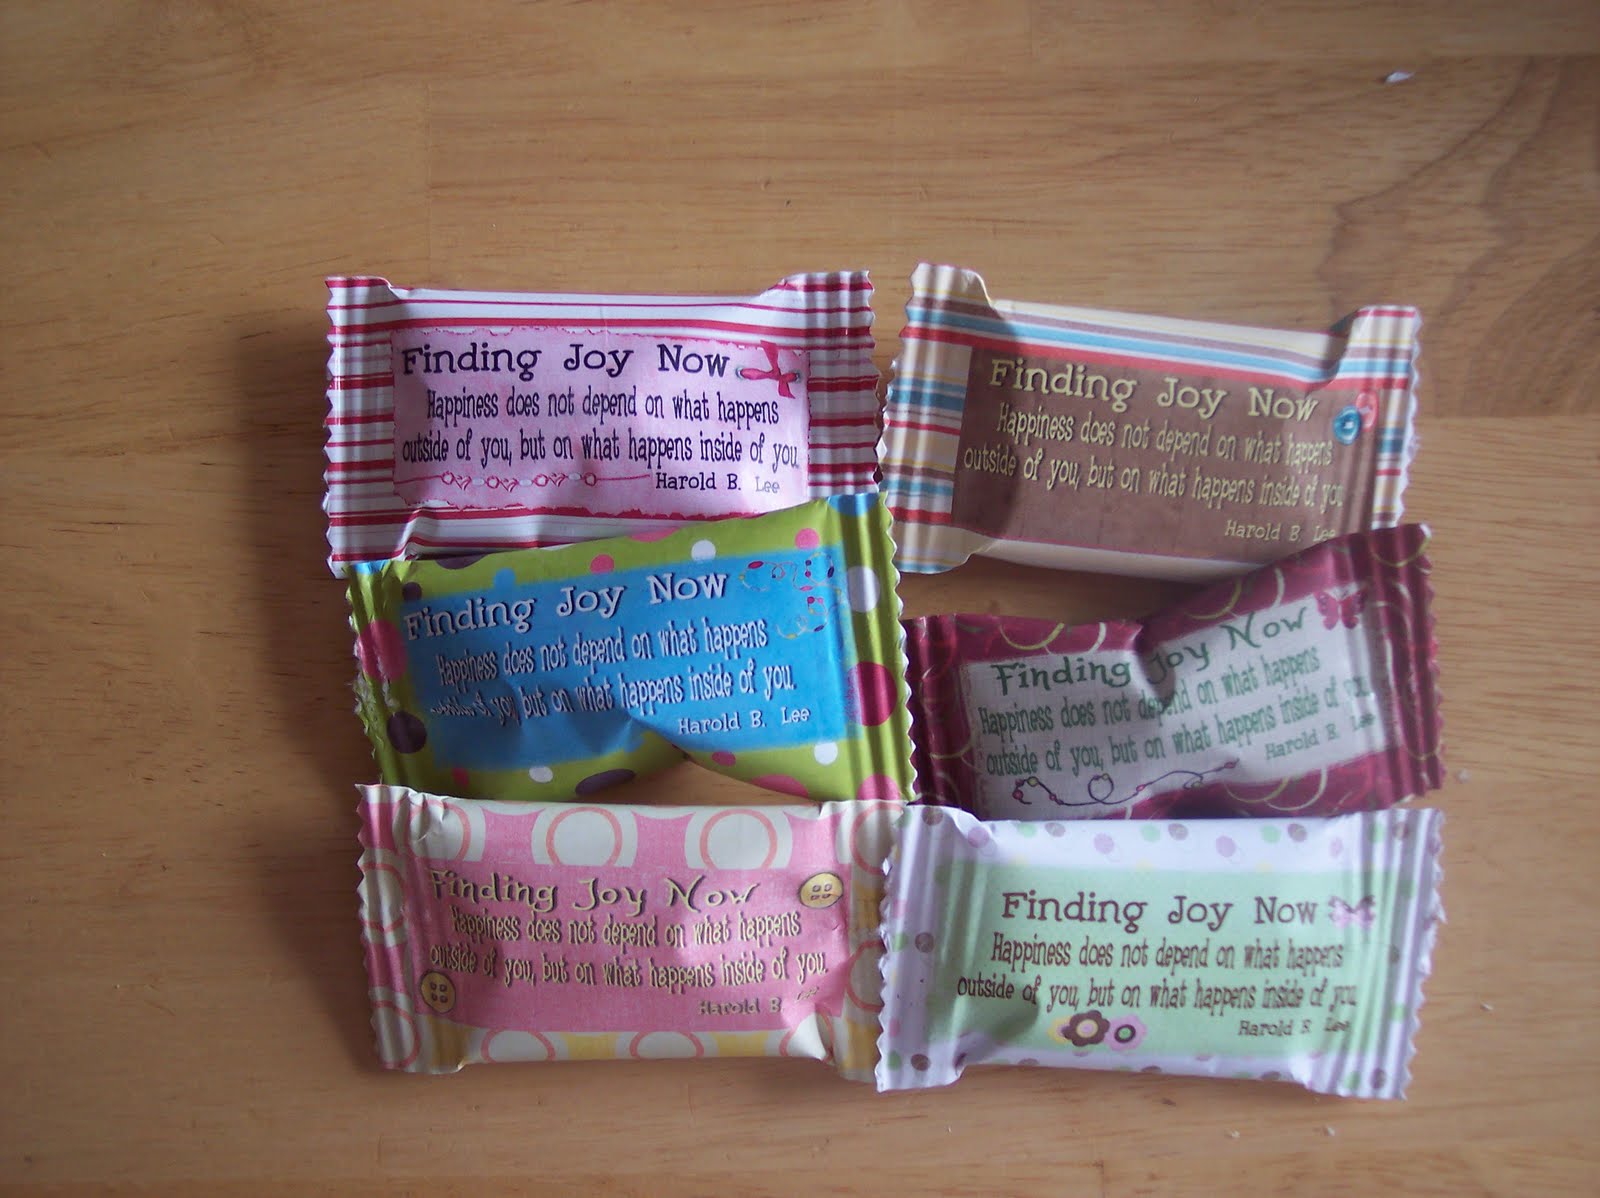


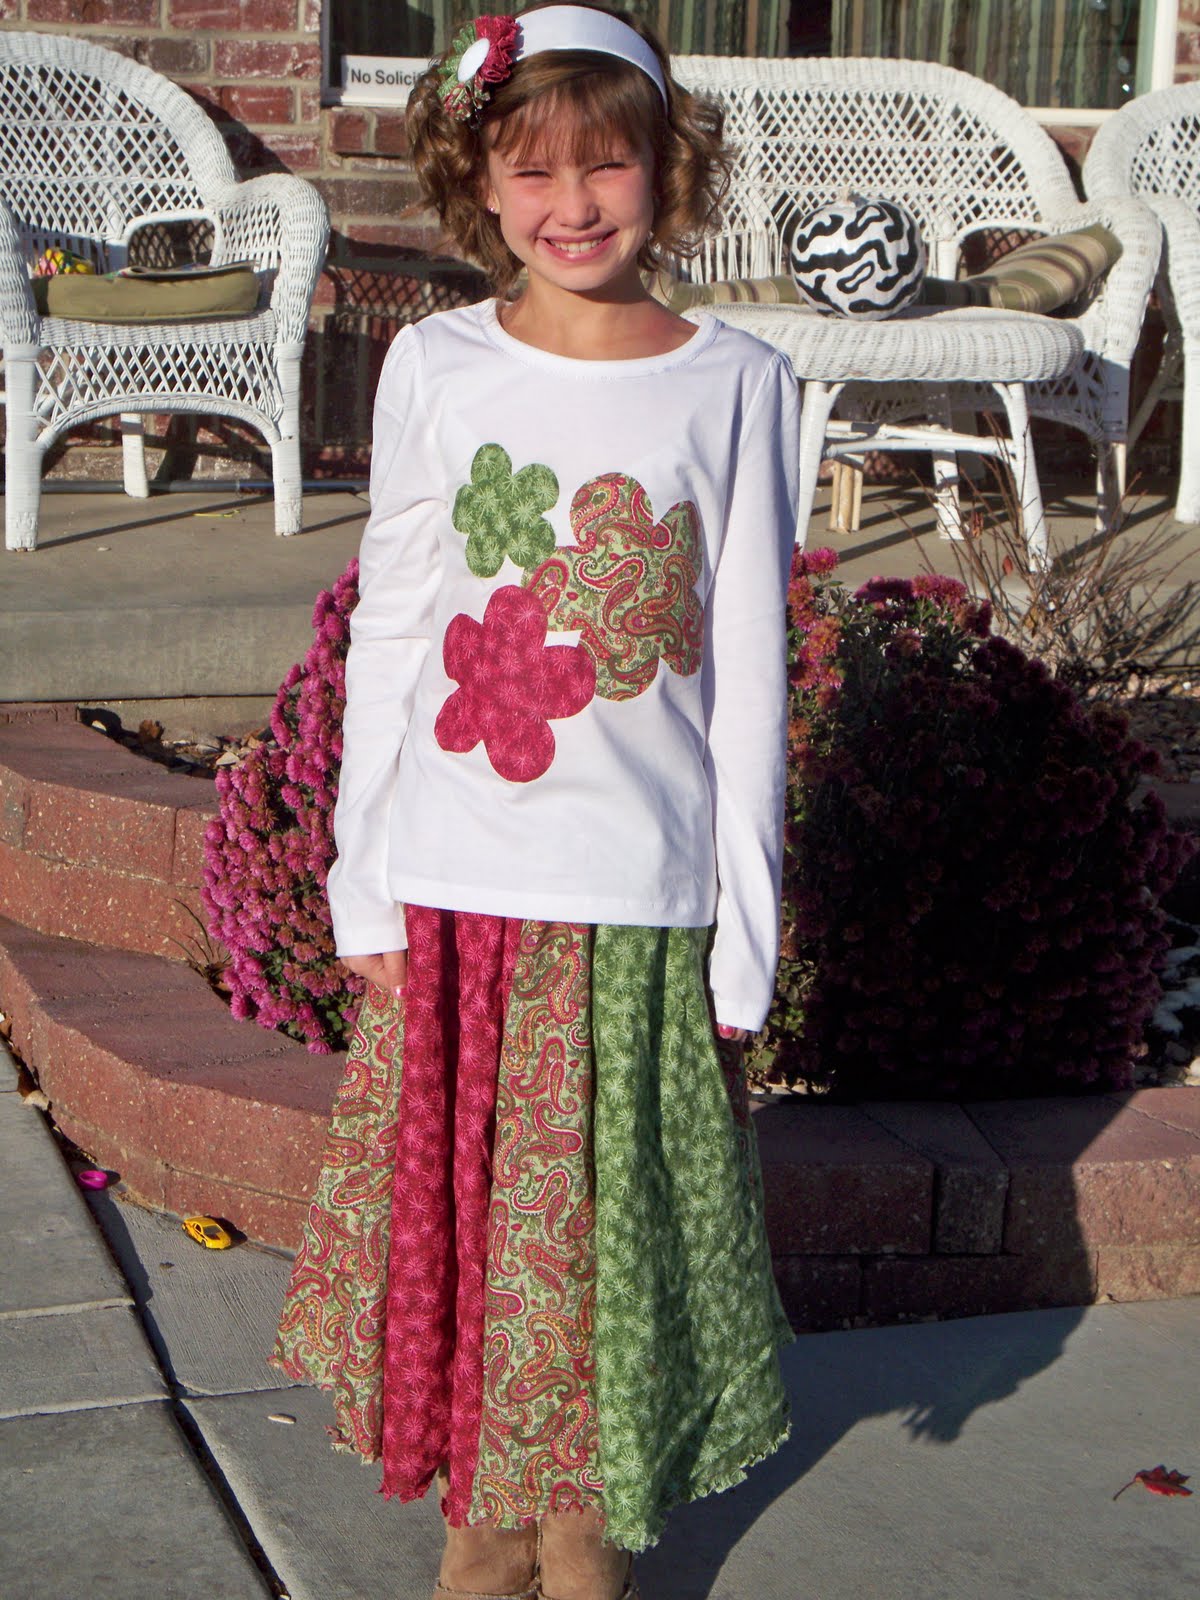
 The girls loved them! They all looked so adorable in them!!!
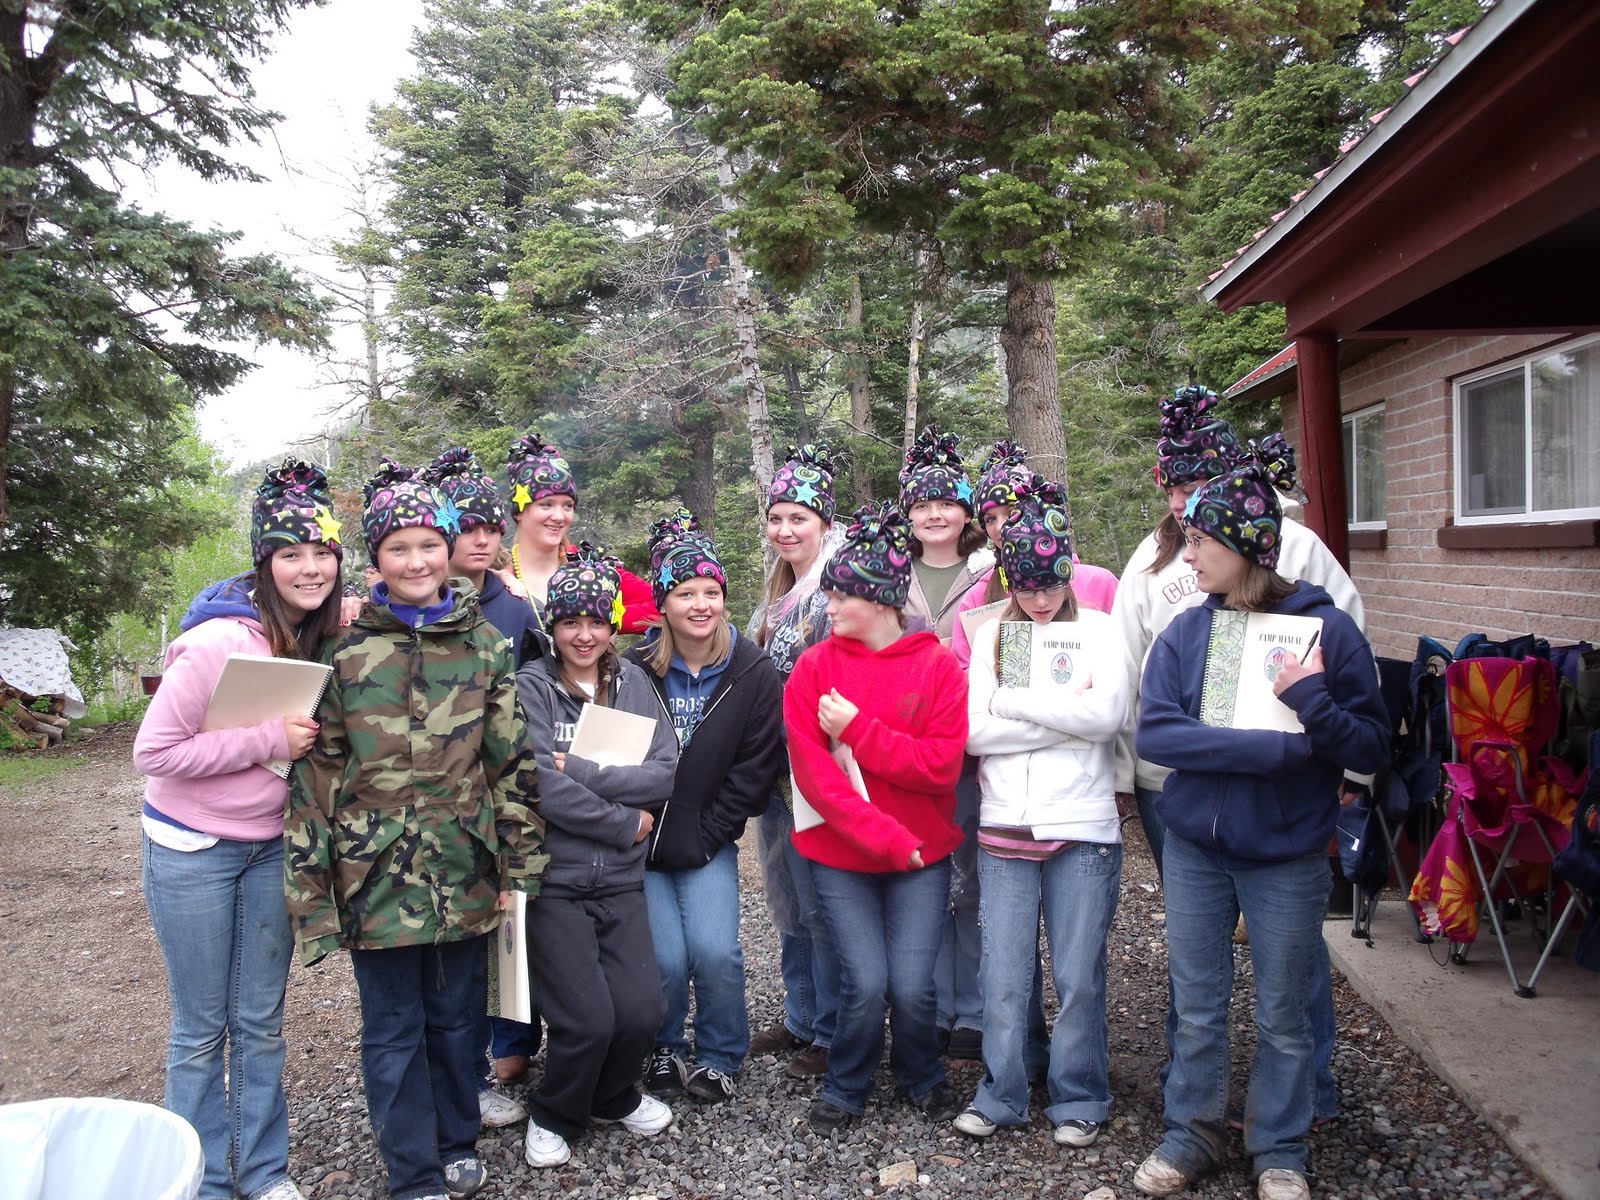

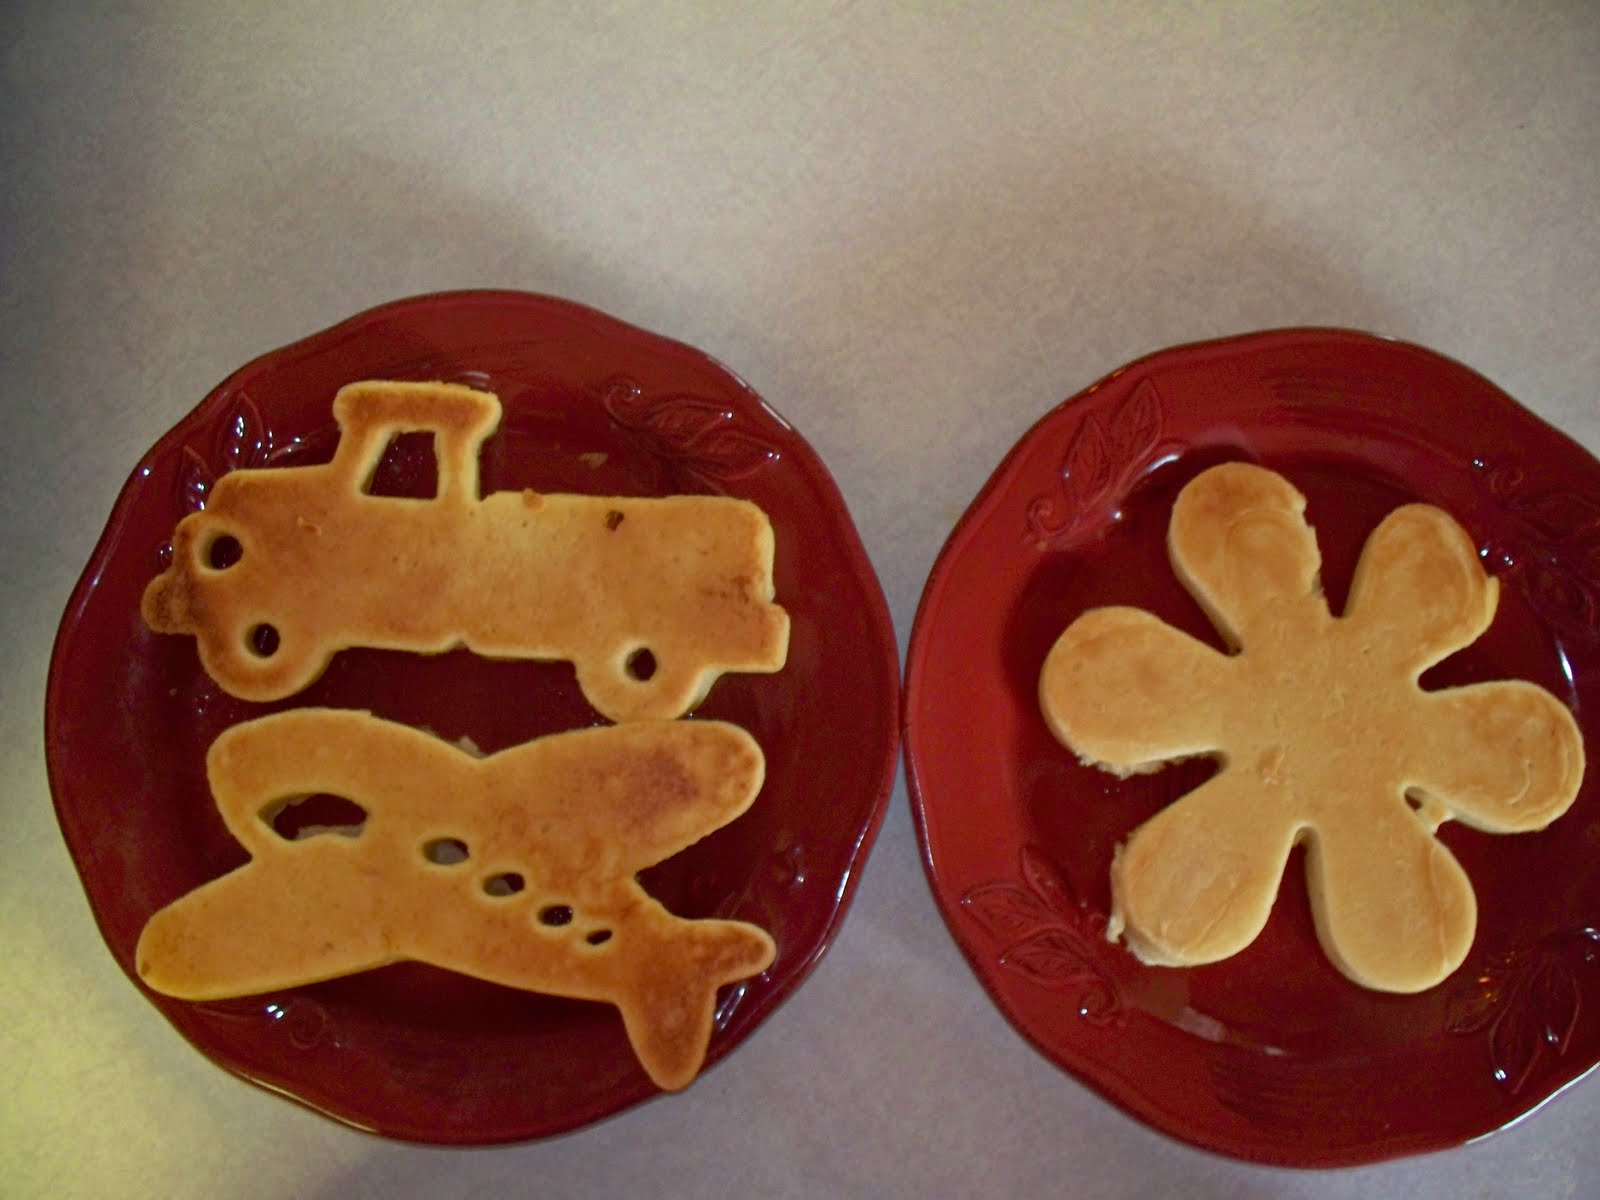 So this isn't really a craft BUT it is a fun idea. I found some pancake molds a couple of years ago - but they were flowers, hearts, etc. Just recently I found some pancake molds for boys at Bed, Bath, and Beyond. I love the new additions - an airplane and truck.
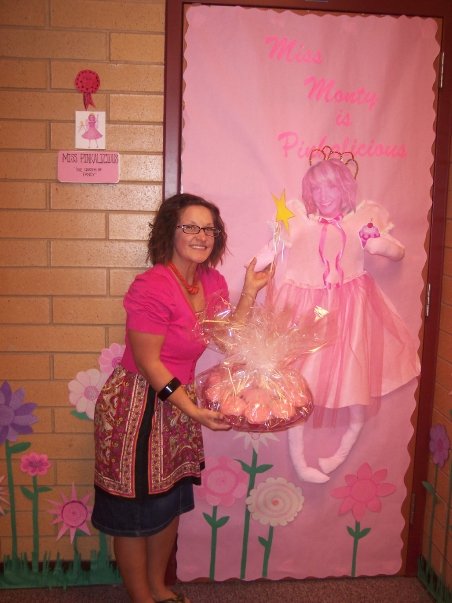 We continued with the pink treats on the 2nd day. We tried REALLY hard to turn her pink with a basket of pink goodies!
 And then the next day, we turned the classroom into a "garden". We gave her a bouquet of flowers and the kids made butterflies and we hung them up around the room. OK - I have to admit that there was one bat! Haha!
 On the last day, we filled her up with "green goodies" so that she could get back to normal.
 We also made up a story about the week and called it "Miss Monty is Pinkalicious". It is in 6x6 sheet protectors and it detailed the entire week into a storybook. Here she is reading it to the kids..it was so cute and she teared up a few times while reading it.
 Probably one of my favorite teacher appreciation weeks EVER. I'm gonna have to try this idea again..it was totally fun!

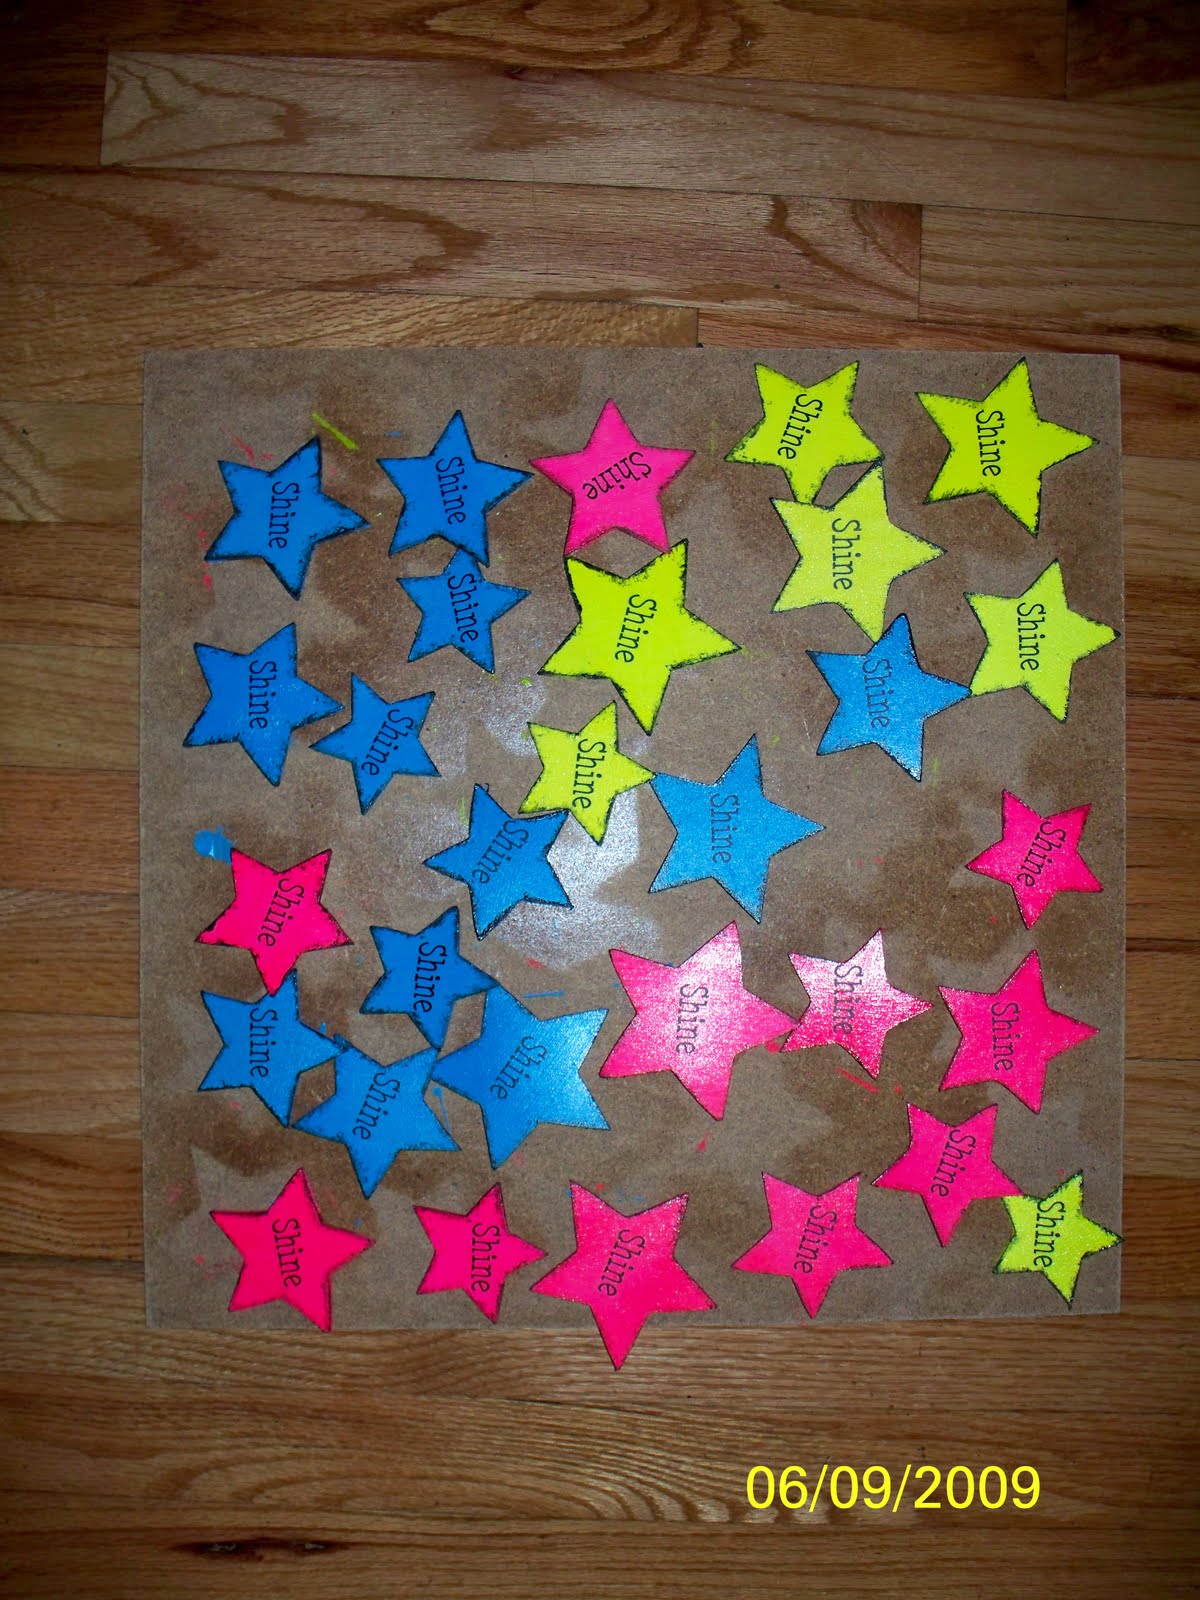
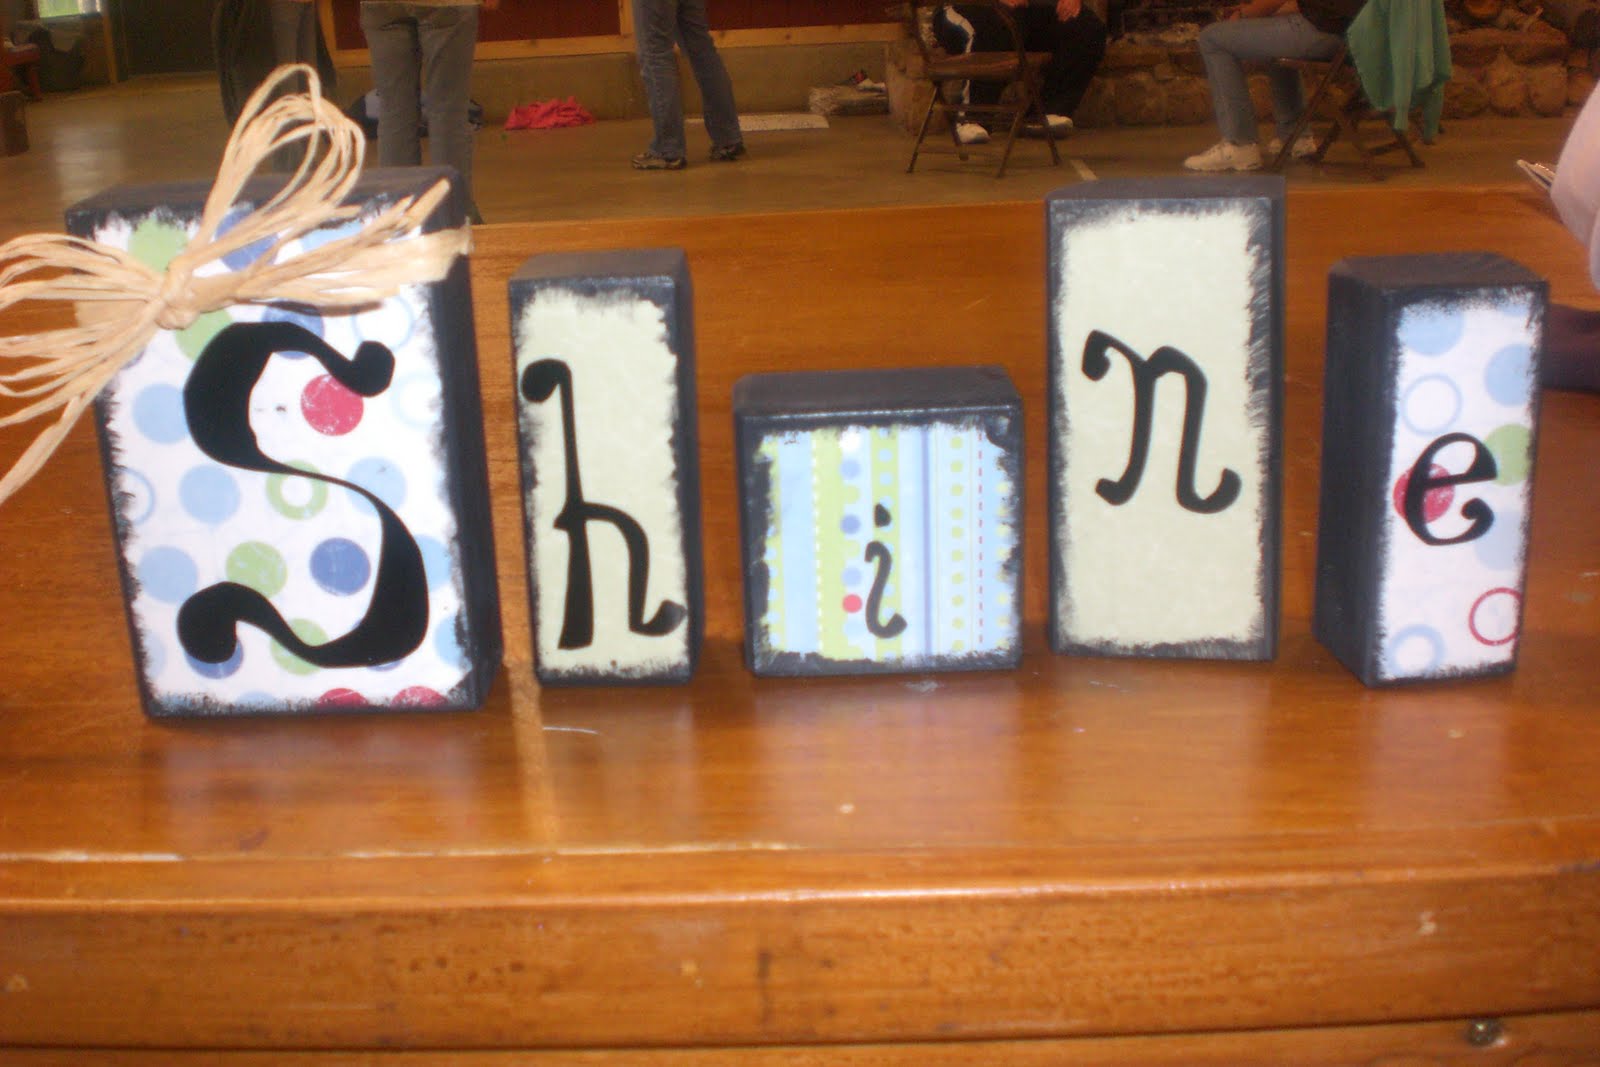
 These were a fun project. I purchased a 4x4 post of wood and cut them down to 4x4 blocks. I found quotes that I liked and designed them into 3.75 squares. I painted the blocks and then used modge podge to adhere the paper to the block. Optional - you can use a damp sponge and dip it into your paint, and then dab it onto paper. Use the sponge to ink in the edges for a more complete look.


 I had to borrow these pics from my sister because I failed to take pics of my girls. We did this as a class activity.
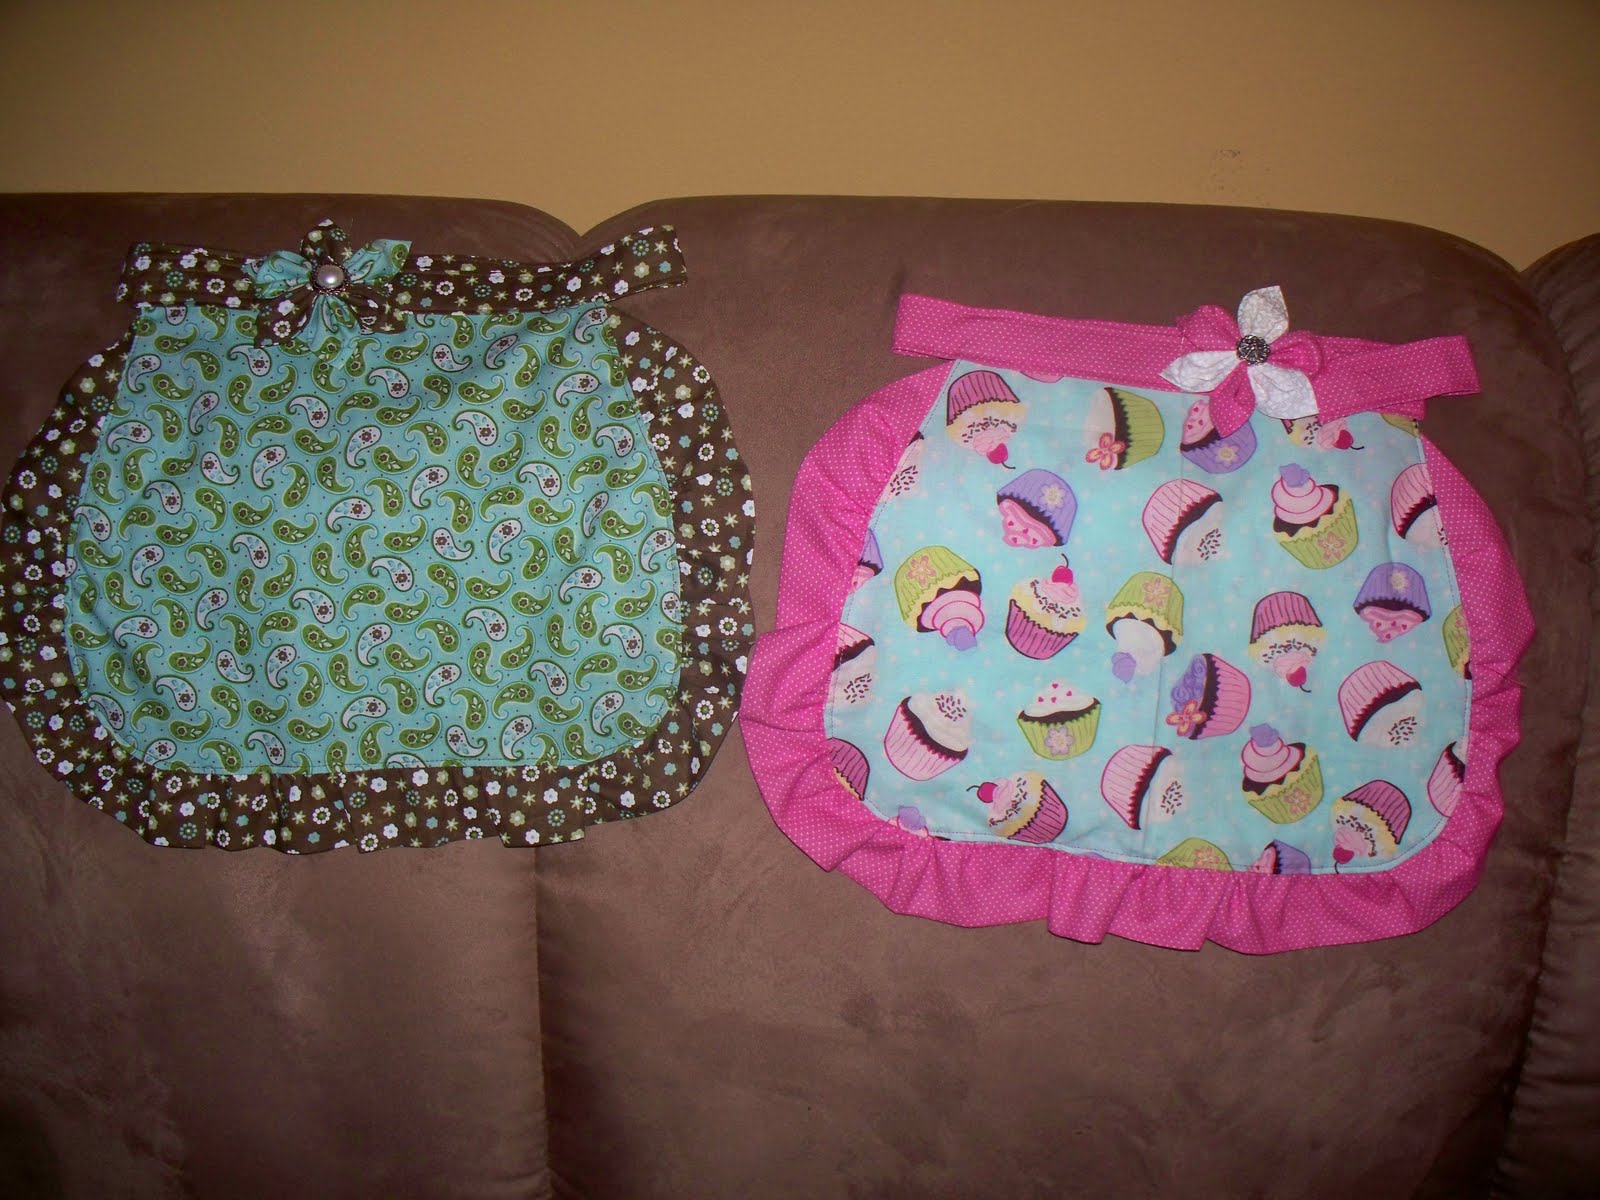

