I was released from Young Women's in July and I am finding time to do all kinds of projects. I wanted something colorful and cute for my front door for the fall and this is what I ended up with. I love it - every time I come home I love seeing it on my front door.
Sorry for the blurry picture - I didn't realize it until I was ready to upload.
Showing posts with label fall. Show all posts
Sunday, September 18, 2011
Sunday, October 31, 2010
Fall Festival Centerpieces
So, my cute Beehive Presidency decided that it would be fun to help with the Fall Festival. Usually our ward has a carnival so the girls thought it would be fun to plan a game for the night and be in charge of it. Well, they decided NOT to do a carnival this year so we asked if we could help with decorations and the activities chairman asked if we could make centerpieces.
Now comes the tricky part...we had to make 21 centerpieces with $20.
Hahahahahahahaha!! Pretty funny, huh??
Well, I set to work searching the internet for something inexpensive - but also something that the girls could help make. It had to be something that could be made at one night's activity.
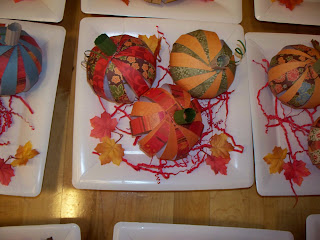
So, after much searching, I decided that the paper strip pumpkins would be easy easy easy and cheap cheap cheap. We ended up making 63 of them. WOW!!
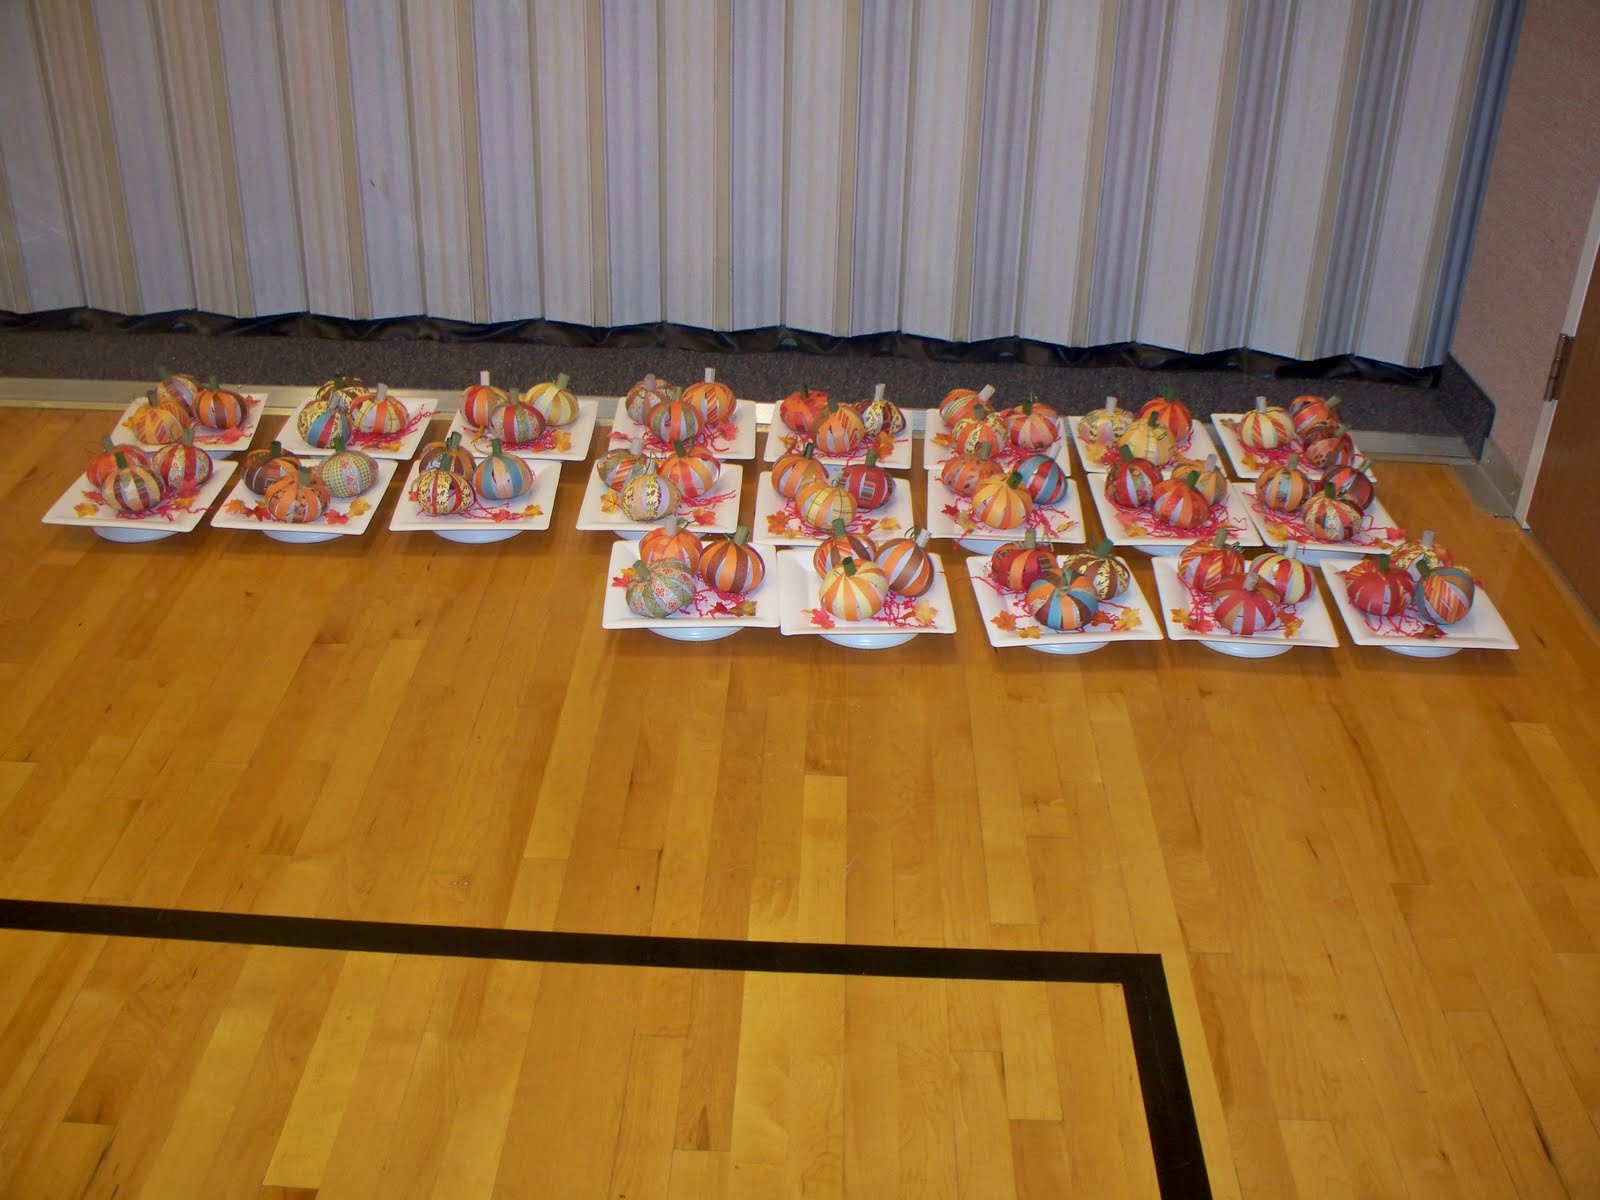
But I wasn't sure how to display them on the table - luckily my mom was in town. So, we ventured in and out of several stores and finally decide don these. Paper plate resting on a paper bowl...but they actually looked really good. I wish I had taken a picture at the festival because they look so cute on all the tables!!
Here are ALL 21 centerpieces!!!
Tuesday, October 12, 2010
Pumpkins
There are all sorts of pumpkins out there in the world wide web right now...and I have my eye on a few of them.
I started with these ones because I already had a spare 2x4 sitting around in the garage.
The original idea can be found HERE:
I'm not sure how she attached her stems but I drilled a hole in the top of the pumpkin and the bottom of the stem and then used a dowel to connect the two pieces. Does that make sense? So they are attached, but you can turn the stem to the side if you want to just for a different look.

Also, we painted ours different colors - except for Chance - he wanted ALL of his to be the same color.

Chance decided that he wanted to make faces on his - so his looks like this on one side and then he cut pumpkin faces out of black paper and glued them onto the other side...depending on what he wants..he can turn them either way. Smart little kid..

I started with these ones because I already had a spare 2x4 sitting around in the garage.
The original idea can be found HERE:
I'm not sure how she attached her stems but I drilled a hole in the top of the pumpkin and the bottom of the stem and then used a dowel to connect the two pieces. Does that make sense? So they are attached, but you can turn the stem to the side if you want to just for a different look.
Also, we painted ours different colors - except for Chance - he wanted ALL of his to be the same color.
Chance decided that he wanted to make faces on his - so his looks like this on one side and then he cut pumpkin faces out of black paper and glued them onto the other side...depending on what he wants..he can turn them either way. Smart little kid..
Here's the finished project!!!
Subscribe to:
Posts (Atom)