Saturday, June 6, 2009

YW Handout

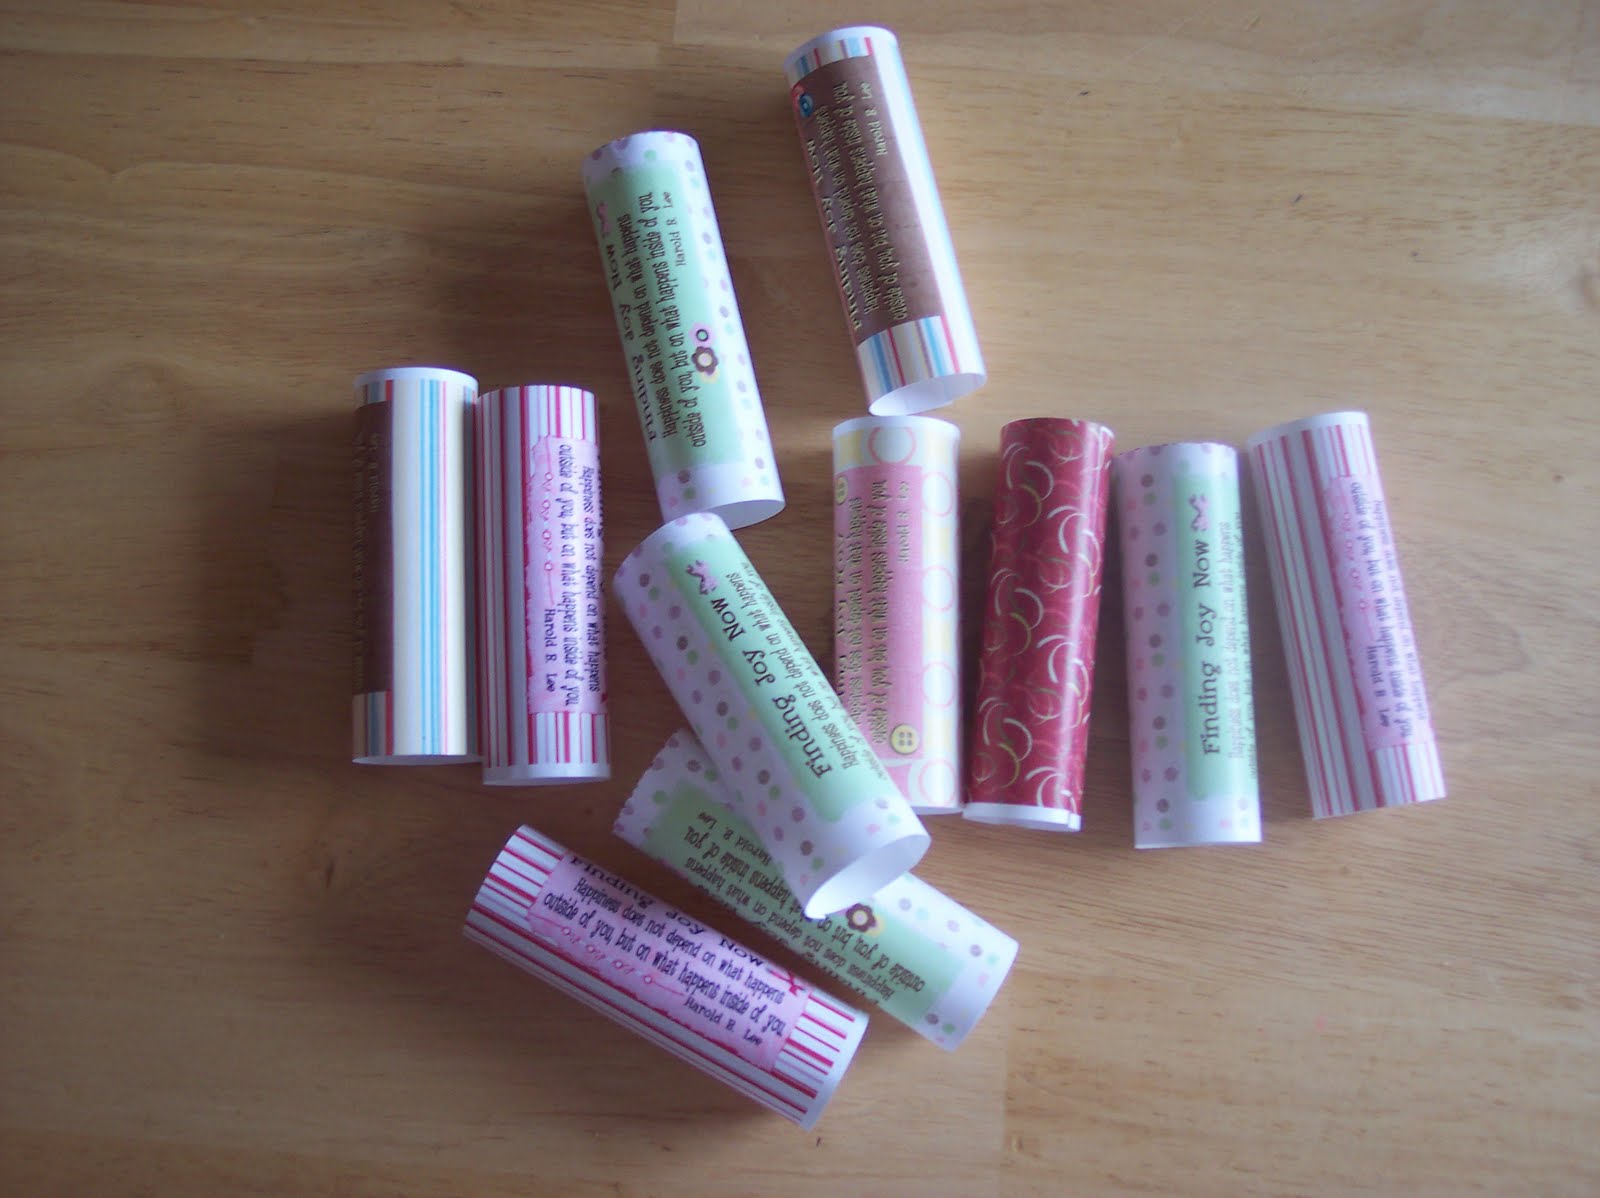
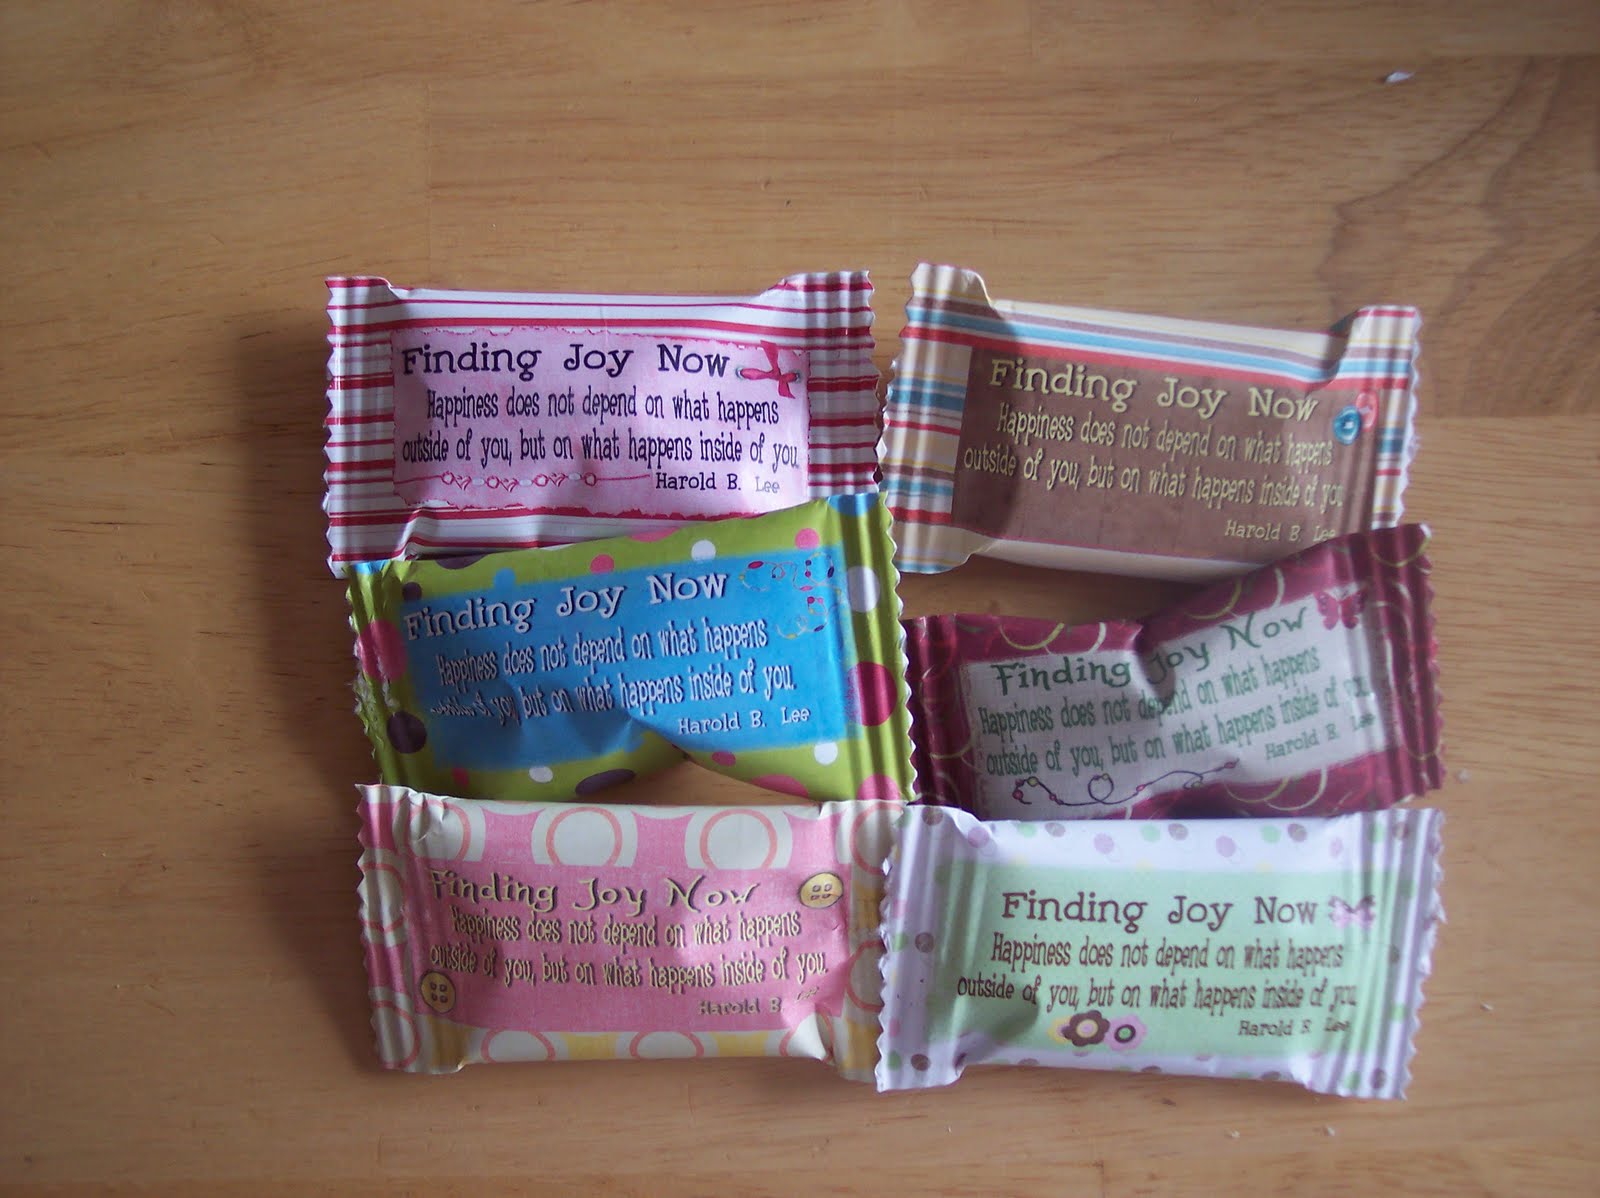
This is a handout that I did for a YW lesson about finding JOY in our lives. I have used this technique in the past to cover all kinds of treats - Hershey Stix, M&M's, etc.

Depending on what you are covering, you will need to measure the distance around and the length of your item. Be sure to add a little extra for overlapping the edges. Design your project using your program of choice (I use Printshop)

Once the item has been printed and cut out - use a double sided tape runner and apply the tape to the long side as well as the 2 end pieces. Now you can you can wrap it around your item and secure with the tape. Be sure to position the item where you want it before securing the 2 ends.

Once you have secured the ends, use a paper crimper to crimp the edges. You can leave it here or you can use a zig zag pair of decorative scissors and trim the edge.

TA DA - you are done!!


Magnetic Cupboards

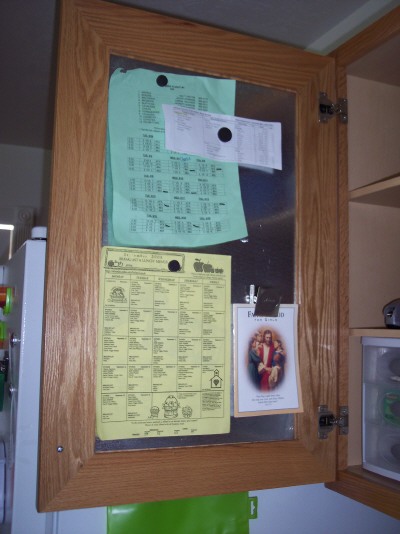
I don't really care for all the magnetic clutter that seems to appear on my fridge and my kitchen does not have a space for a magnetic board. So, I was trying to figure out how to fix this problem and I thought, "Why not put sheet metal on the inside of my cupboards? Then I can close them and no one can see all the papers."

I measured the recessed portion of my cupboard and had a place here in town cut them to theright size for me. Then I had my DH remove the cupboard fronts and I glued them in using E-6000 glue. I rested a whole pile of books on top and left it over night to dry. My DH installed them the next day and I put them right to work!!
Needless to say, I have LOVED this idea. I might add it to a few more!!

Monday, June 1, 2009

Camp Hats

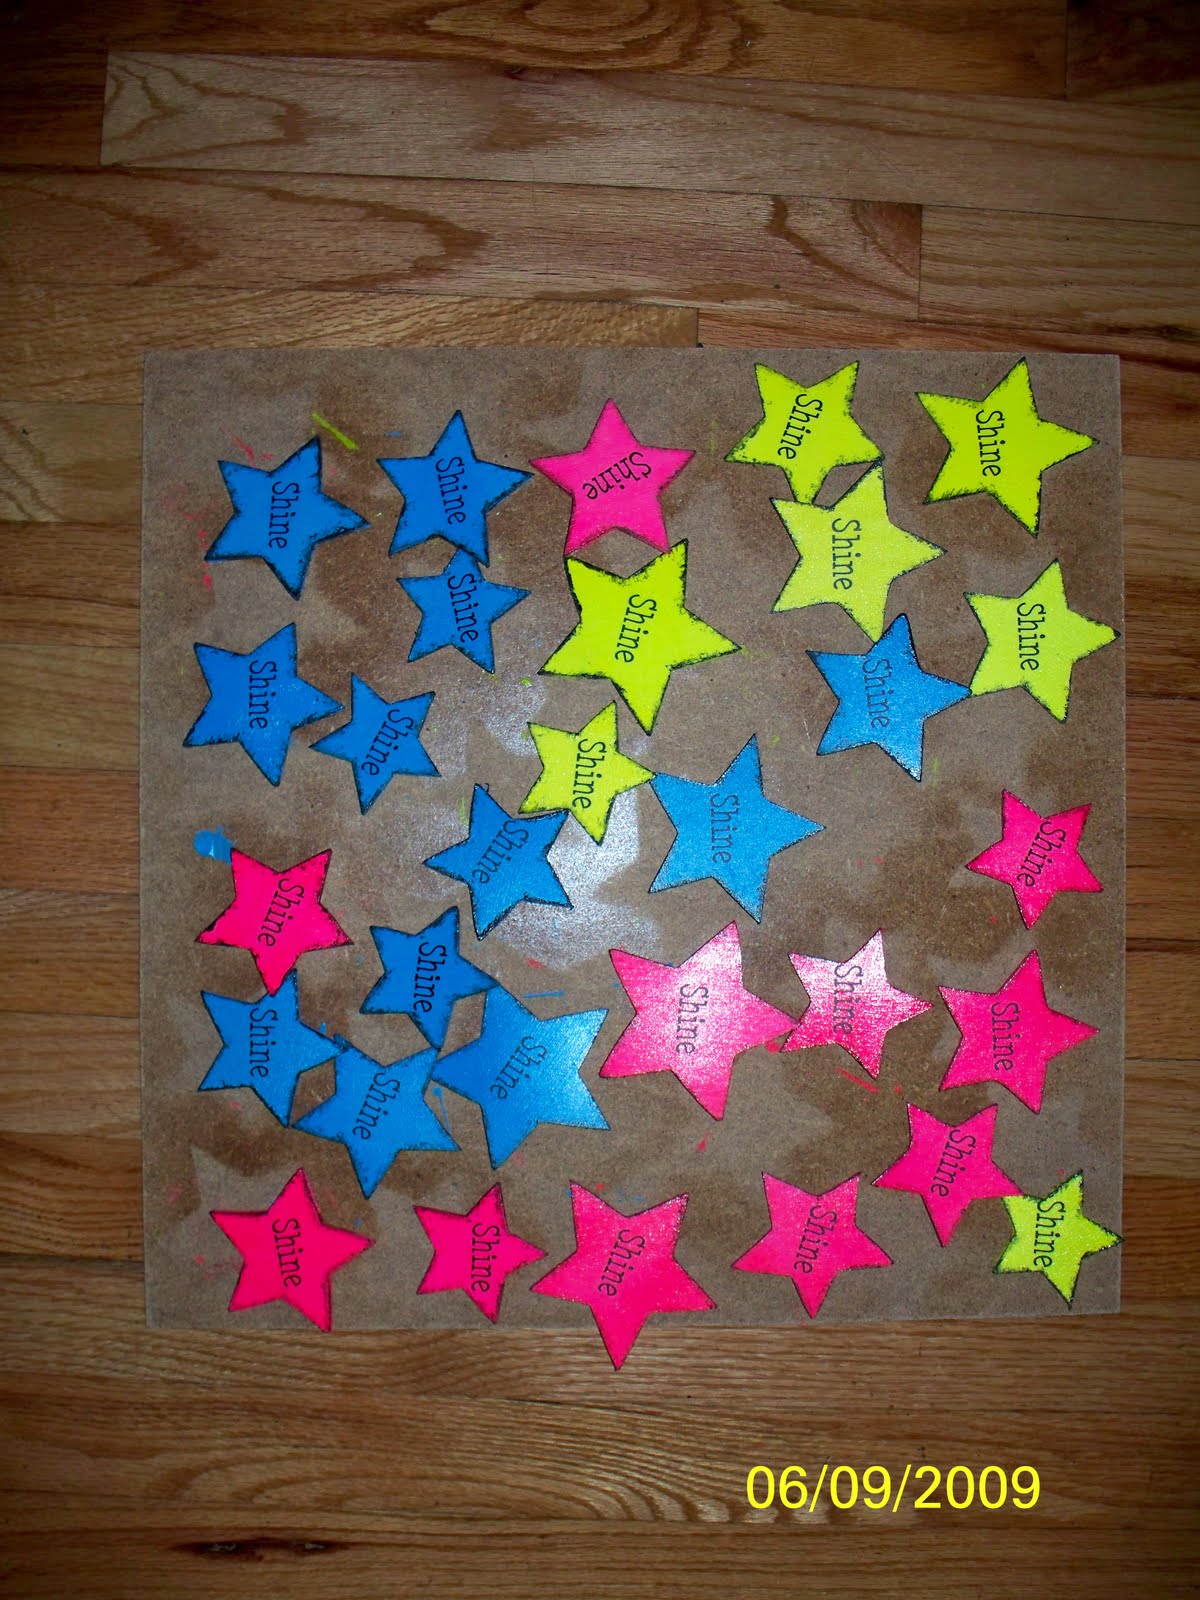
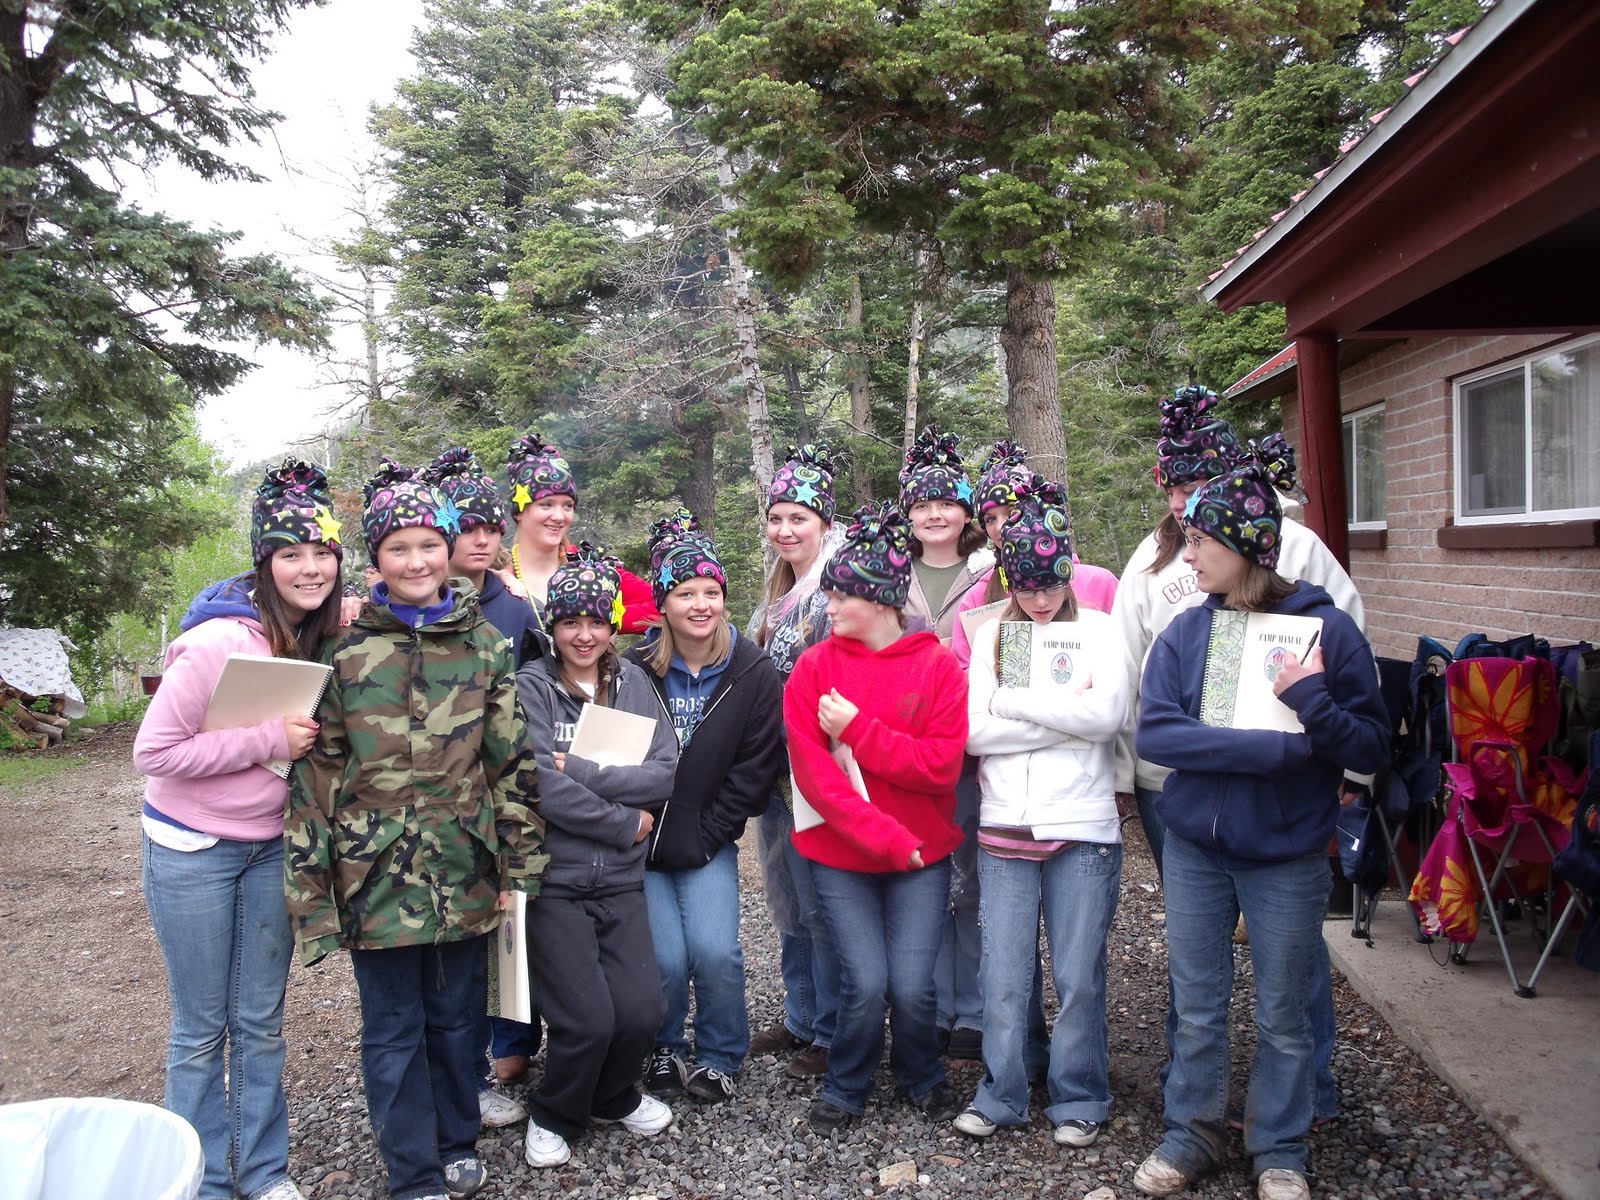
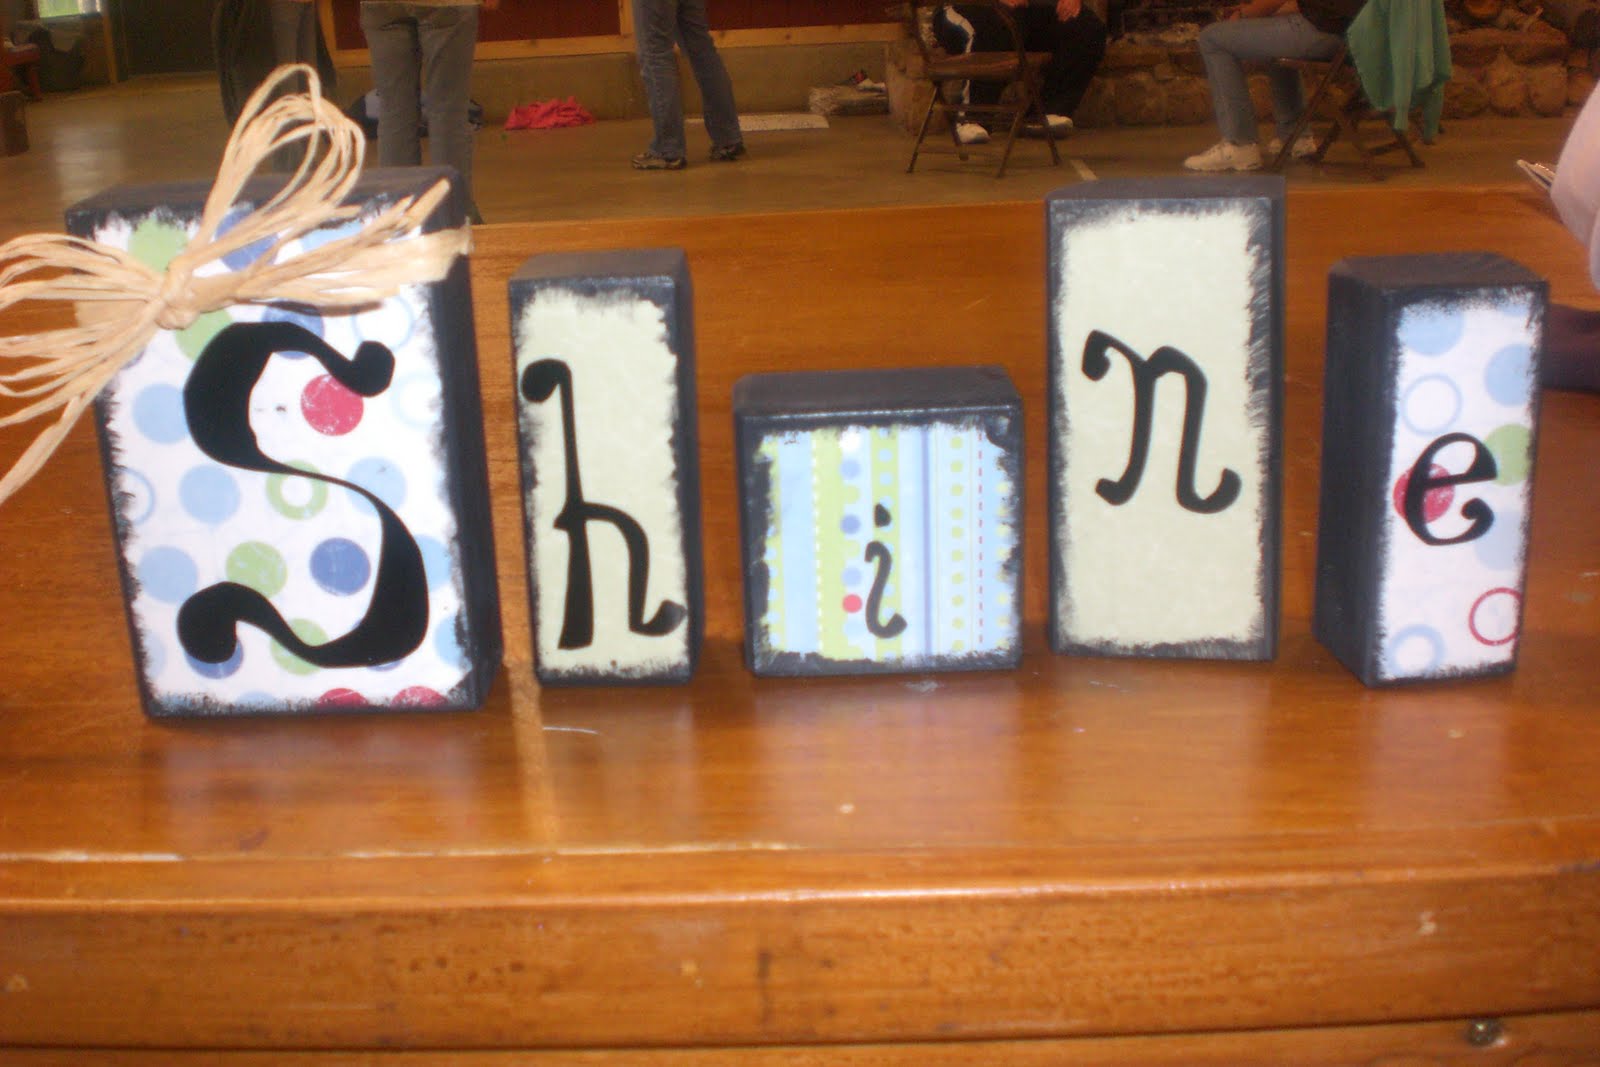
Our theme for camp last year was "SHINE" and was focused on the stars. We headed up to the mountains in early June and knew that it may be a little chilly at night and in the mornings. We made these cute hats for our YW along with a SHINE pin that could be pinned to their hat hat or their shirt..whatever they chose.
The girls loved them! They all looked so adorable in them!!!
Remember this idea from a previous post...they are a perfect craft for girl's camp.


Each of us leaders took a day and made a handout along with a goodie for the girls. I used Starburst and attached a quote that said, "We can't all be STARS, but we can all TWINKLE."

Tuesday, May 5, 2009

Pancakes Molds

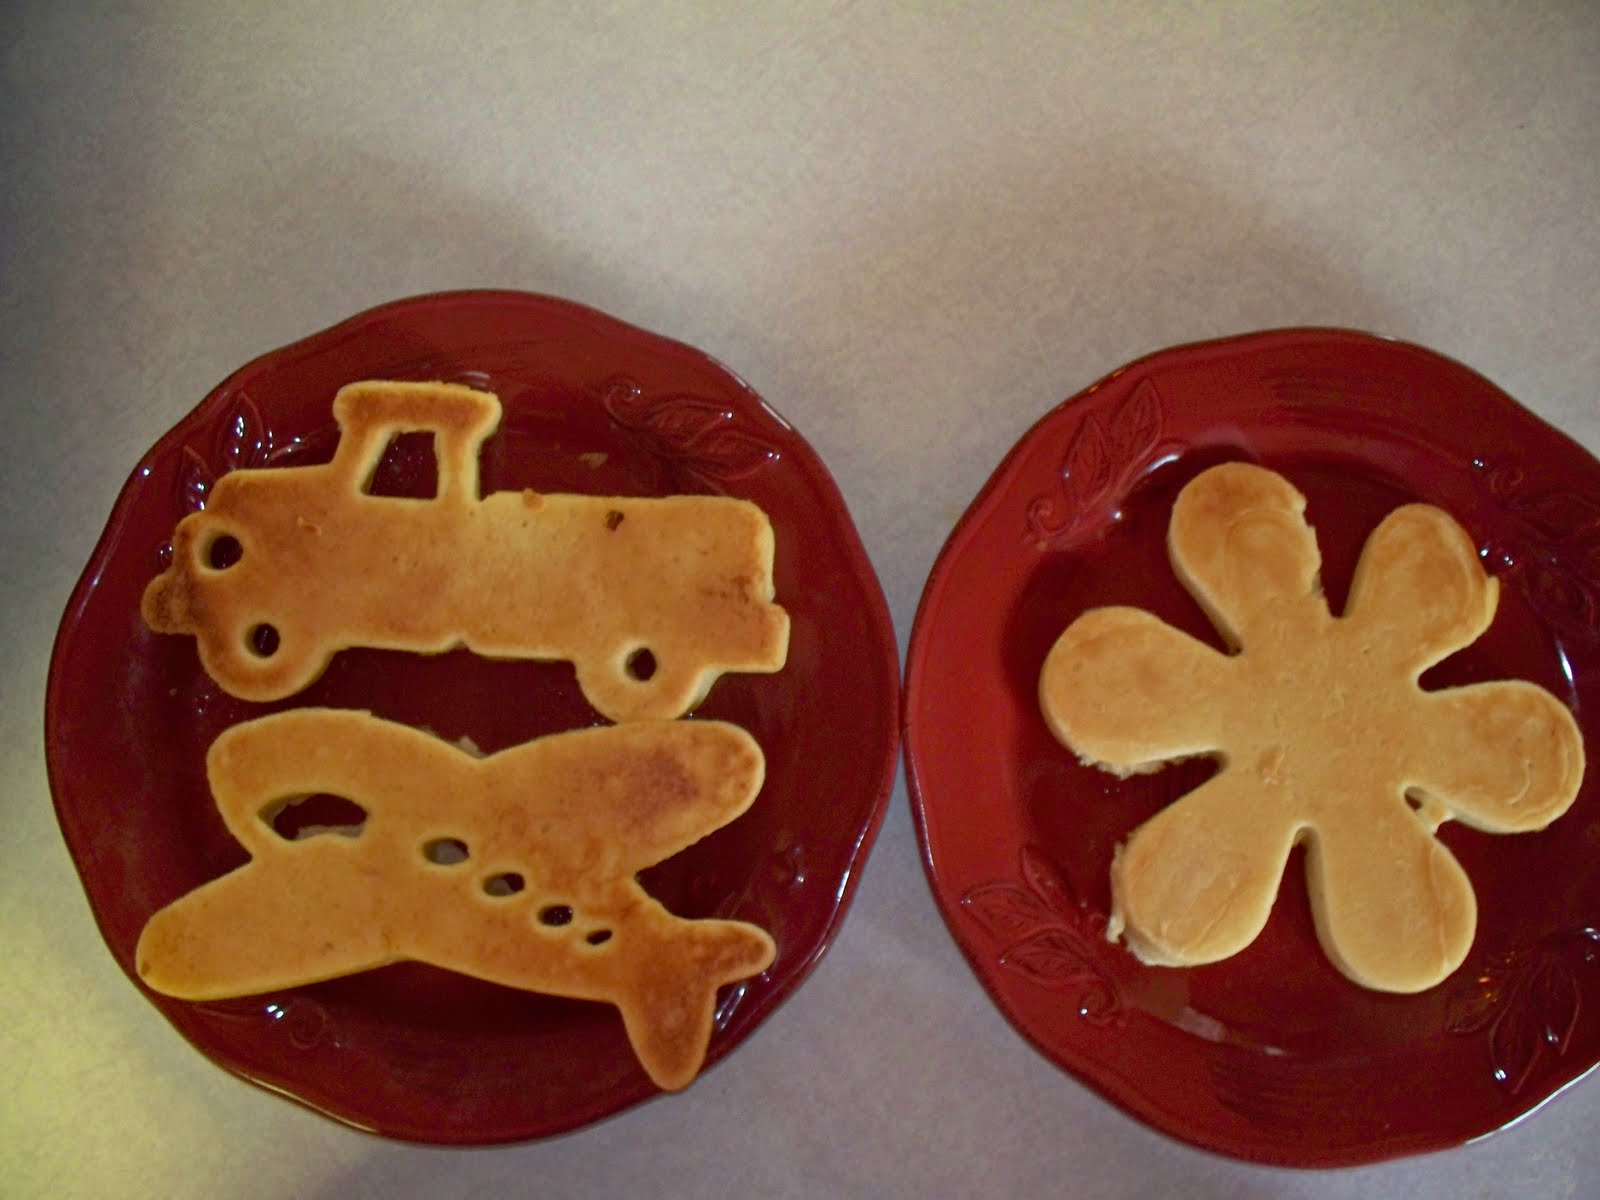
So this isn't really a craft BUT it is a fun idea. I found some pancake molds a couple of years ago - but they were flowers, hearts, etc. Just recently I found some pancake molds for boys at Bed, Bath, and Beyond. I love the new additions - an airplane and truck.

Wednesday, April 8, 2009

Teacher Appreciation Idea

We had an amazing and fun teacher appreciation week. I am a co-room mother with another mom and we came up with this idea for Teacher Appreciation Week. We wanted to pick one of her favorite books and make it *come to life* for her.

So, we picked Pinkalicious (she loves that book) and we began planning.

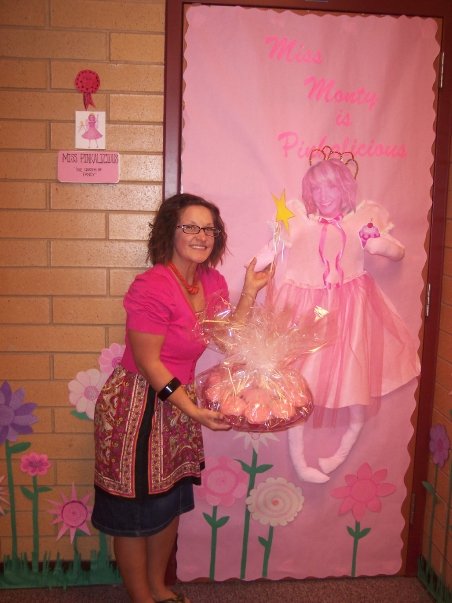
Here's a picture of her door: (Looking at it now - I would probably change a few things but that's how it goes) What you can't see in this picture is that it is 3D. The arms have a wire inside of them and they stick out a bit.

This was also the 1st day of the week and we gave her pink cupcakes.

We continued with the pink treats on the 2nd day. We tried REALLY hard to turn her pink with a basket of pink goodies!
And then the next day, we turned the classroom into a "garden". We gave her a bouquet of flowers and the kids made butterflies and we hung them up around the room. OK - I have to admit that there was one bat! Haha!
On the last day, we filled her up with "green goodies" so that she could get back to normal.
We also made up a story about the week and called it "Miss Monty is Pinkalicious". It is in 6x6 sheet protectors and it detailed the entire week into a storybook. Here she is reading it to the kids..it was so cute and she teared up a few times while reading it.
Probably one of my favorite teacher appreciation weeks EVER. I'm gonna have to try this idea again..it was totally fun!

Saturday, April 4, 2009

The Crayon Box


I found this pretzel crayon idea in the Family Fun magazine years ago. I have been holding on to it until I had time to get around to it. I have more detailed instructions HERE:

The crayon box template can be found HERE:

I also gave the teachers a copy of the book "The Crayon Box that Talked".

Wednesday, April 1, 2009

Wood Blocks


These were a fun project. I purchased a 4x4 post of wood and cut them down to 4x4 blocks. I found quotes that I liked and designed them into 3.75 squares. I painted the blocks and then used modge podge to adhere the paper to the block. Optional - you can use a damp sponge and dip it into your paint, and then dab it onto paper. Use the sponge to ink in the edges for a more complete look.

I made some blocks based on the Sister Beck's talk titled "Mothers Who Know" and gave them to the sisters that I visit teach along with a copy of the talk.

See here for another project that I made using the 4x4 block: