
We learned how to make these a few years ago for a Super Saturday and I still think they make a GREAT wedding gift.
My DH had a coworker that got married last week and he asked if I would make one of these for him. Trust me - no one is going to steal your dish with your name on it..unless it is someone in your family with the same last name.
Anyway - these are SO super easy now that we have Cricut and Silhouette machines!!! But you can also do it without them.
You will need the following items:
Cricut, Silhouette, or X-acto knife
contact paper or vinyl (I use contact paper because it is cheaper) :)
glass pan or dish
Q-tip
Etching Cream (one bottle will last you FOREVER!!)
To be sure that you get the right product, this is what the etching cream looks like:
Decide on a font that you would like to use...be wary of using fonts with small intricate lines. Be sure when you cut out the font that you MIRROR the image. Remove the paper backing from the contact paper and apply the contact paper to the bottom of the glass dish. (Not the serving side..but the very bottom.)
If you are using the X-acto knife method, you will need to print out your image (MIRRORED) on the contact paper. Be sure to use a laser printer for this..an ink jet printer will just smear. Remove the contact paper and center it on your pan or dish. Here comes the fun (haha) part..using the X-acto knife and the image that your printed, cut out the letters from the contact paper. (Now do you see why the Cricut and Silhouette make this so much easier!)
When you look at the dish, it should look something like this:

Apply the Etching Cream. I like to use a Q-tip for this part and I apply a fairly generous amount by just dabbing it on. If you brush it on, your pan with end up with a painted look.
This is how my pan looked:

Wait 5 minutes and then rinse off under cold water.
The first time I made these, I was worried that it hadn't worked because I couldn't tell. But when I removed the contact paper, it became visible. This is how it looks before you remove the contact paper..you really can't tell that the letters are etched in.
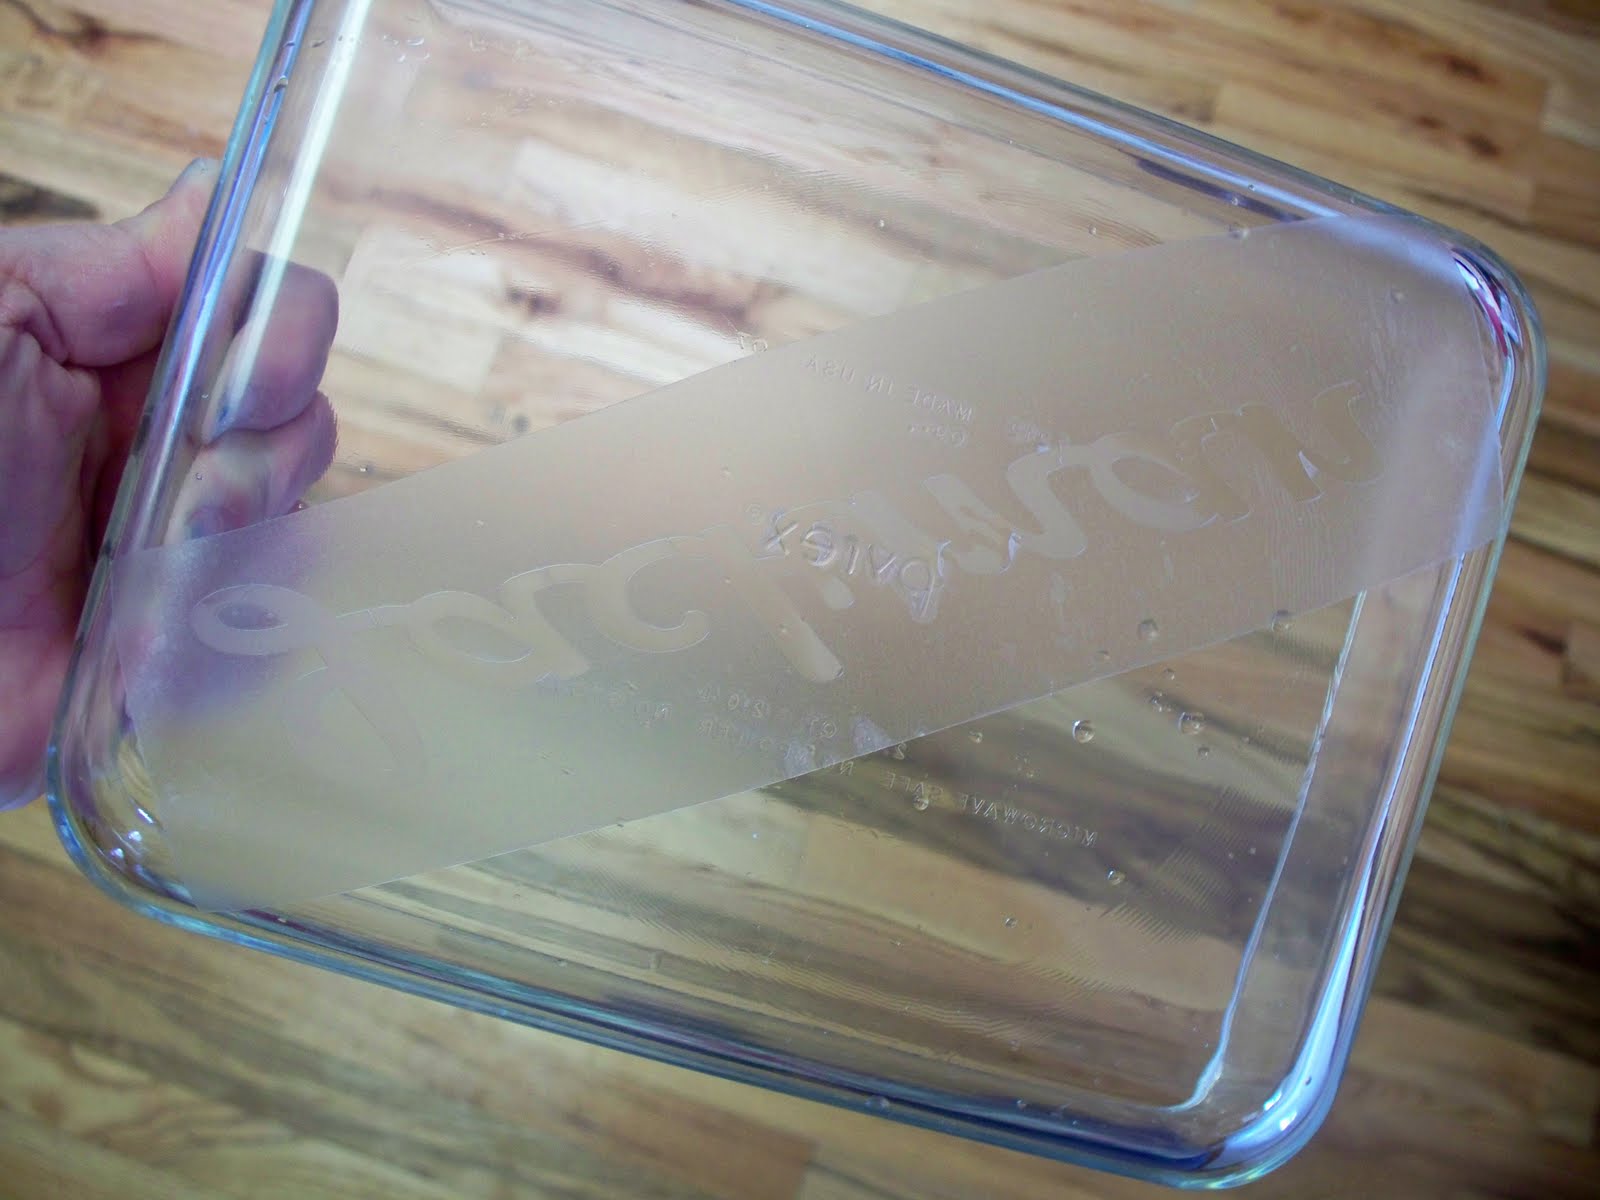
But remove the contact paper and VOILA!!! There are letters!!!
This is a pan that I did a couple of weeks ago..using a thinner cursive font. You can also add flowers, hears, doodles..whatever your little heart desires...have fun with them..they are sure super easy if you have a cricut or silhouette!!

No comments:
Post a Comment