Sunday, August 22, 2010

Back to School Party

Wow!! It's hard to believe that it's time for the kids to go back to school!! The summer just FLEW by for us!!

Well, the girls wanted a back to school party so we thought up a few projects and invited the neighbor girls over..we ended up with about 14 girls.

We ended up making:
1) washer necklaces I was going to just let the girls modge podge them on and call it good but couldn't do it. They really do look so much better with the epoxy on them. So the girls glued on the paper and I put on the epoxy and we delivered them to the girls 2 days later

2) Back Pack Tag - Just used excess scrapbook paper and the clear badge protectors than can be found in the office dept at Walmart. I also printed out each girl's name so they could either use the typed name or write their own name on it. I found some colored key rings and they used those to attach them to their back packs.

3) Bubble Rings - I found a kit at Shopko that had EVERYTHING you needed. It was only $4.79 for 10 rings. I thought they would be a lot of fun - they looked cute but I have heard that a couple of the girls have broken. The paper on the back of the bubble rips and does not stay adhered to the ring. BUMMER! I think I could probably fix this for future rings by adding a coat of crystal accents to the bottom of the paper before gluing onto the ring.

4) Personalized Pens - I bought some cheap pens from Walmart. The kind that have the top that screw off. I had typed up their names and they could choose between their name or patterned paper.

So after all the crafts were done, the girls went downstairs and watched a movie. I think I overkilled on the popcorn - THREE different kinds. (Screaming Yellow Zonkers, Caramel Corn, and Marshmallow popcorn)

Anyway - it was a lot of fun. I hope the girls had as much fun as I did planning it!


A picture of some of the washer necklaces. I had the girls write their name on a piece of paper so I knew whose was whose.

Here's a pic that shows one of the back pack tags, washer necklaces, the rings, and the pens.
Goody bags all tied up and ready to go. I got them ready while the girls were watching their movie.

Necklaces drying in the sun...I had to take this picture just in case the wind blew them off the paper - so I would know whose was whose. And guess what - they did blow off and I had to used the picture.

Friday, August 20, 2010

Baby Gifts

Seems like I have had a ALOT of babies being born in our ward...6 babies within a 2 month period to be exact.

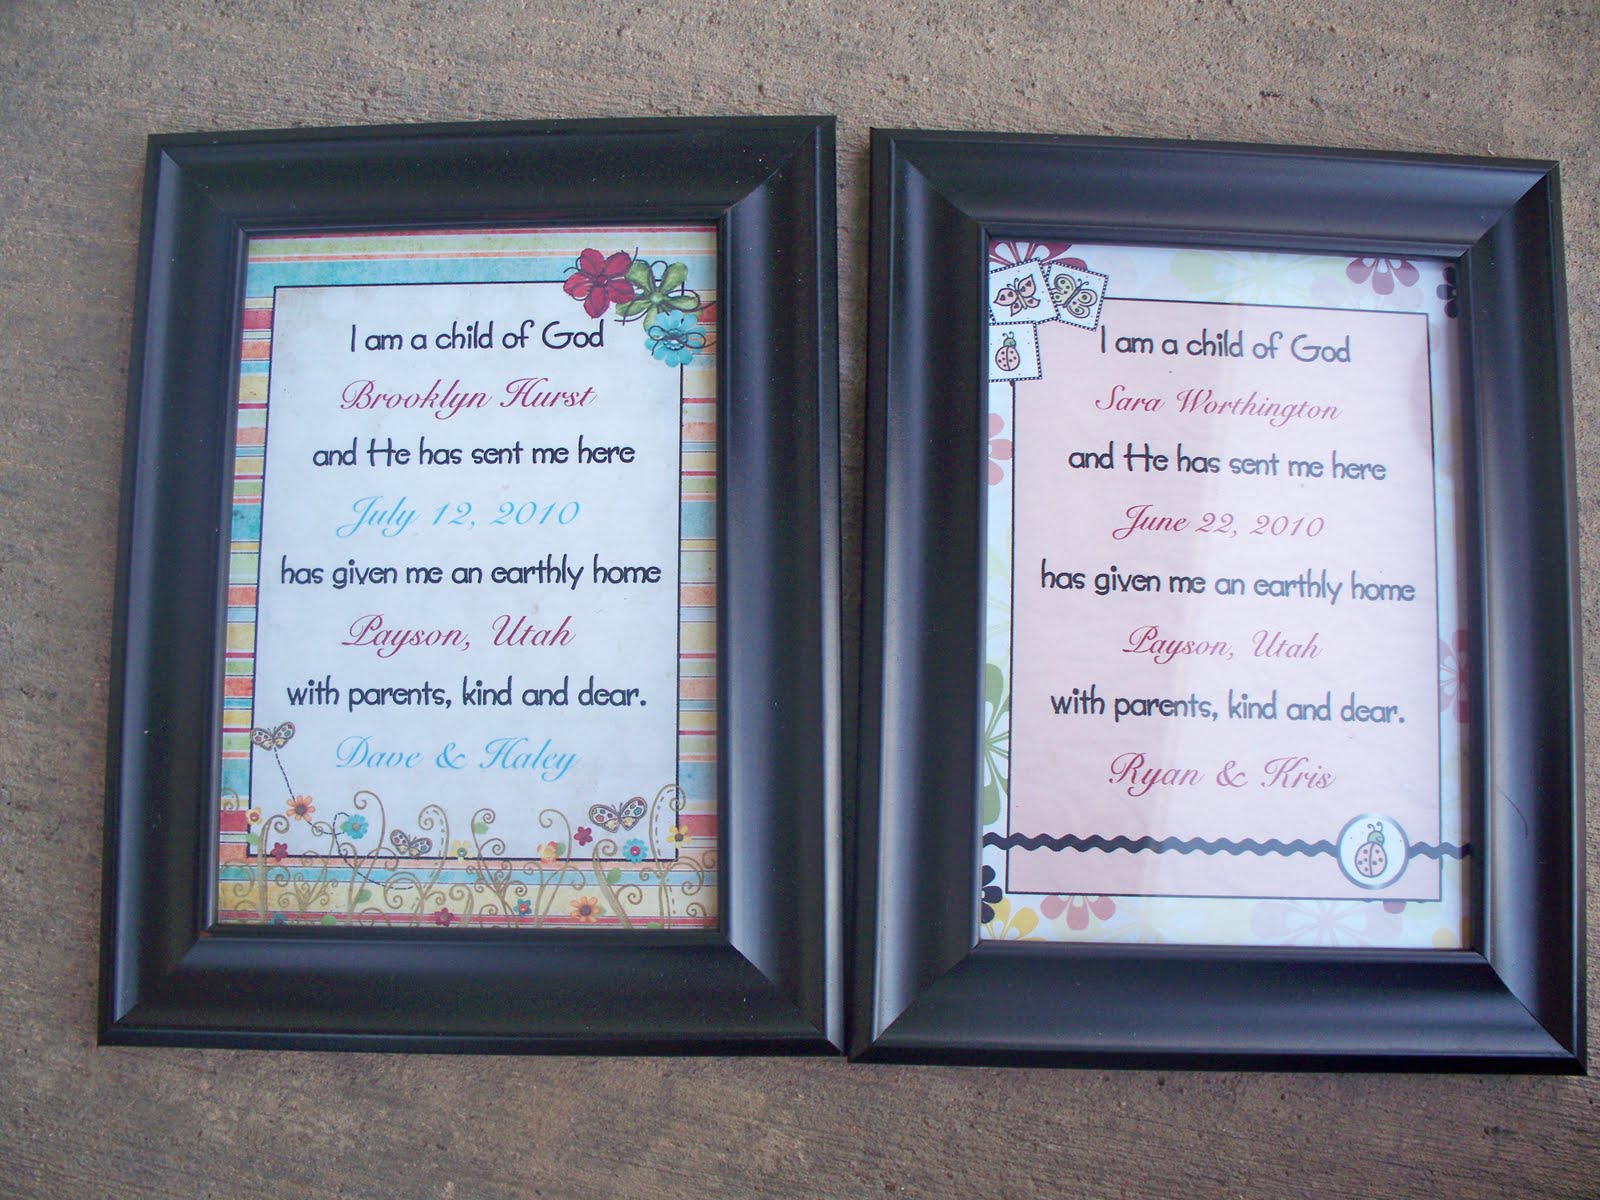
My neighbor (CaraDee) and I made these adorable baby gifts for the women in our ward. We saw this somewhere on the internet and LOVED the idea. I LOVE the song "I am a Child of God" and if fits perfectly.

We were not able to get baby pictures for all the new babies so we used a picture of Christ holding a baby's hand for some of the gifts.

Six babies and only 2 of them were girls...

A close up of Dylan's

A picture of all SIX...and of course we HAD to make them all different (just because)

Thursday, June 17, 2010

Tie Dye with Permanent Markers


I need to stay off the computer because every time I see something new...I'm like, "I need to try that!!"

So, I saw this idea of using permanent markers to tie dye...I didn't think it would really work but decided to give it a try. I made these for a friend who was having a baby boy. I think this would be a fun craft with my kids...

It's super easy.

You will need the following:
permanent bold tip markers
white garment (socks, t-shirts, bandana)
rubber bands
rubbing alcohol (in spray bottle)

Loop rubber bands tightly around your socks or t-shirt - bunch up the sections and rubber band about every inch.
Scribble with marker to make large areas of color around the areas of the rubber band. Limit your colors to two or three - too many colors get muddy.
Lightly spray the garment with rubbing alcohol. Set aside for 20 minutes. This will blend the colors to get a tie dye look.
To set the colors with heat, iron the garment or tumble in a hot dryer. Wash separately in cold water and tumble dry.

Not too bad for my first try - I think I would make sure that I had I colored more on the garment so there was less white..but still turned out OK...I think it was really cute with the frog blanket and I also gave her a pair of denim shorts to complete the outfit.

Tuesday, June 15, 2010

Wedding Gift Idea


We learned how to make these a few years ago for a Super Saturday and I still think they make a GREAT wedding gift.

My DH had a coworker that got married last week and he asked if I would make one of these for him. Trust me - no one is going to steal your dish with your name on it..unless it is someone in your family with the same last name.

Anyway - these are SO super easy now that we have Cricut and Silhouette machines!!! But you can also do it without them.

You will need the following items:
Cricut, Silhouette, or X-acto knife
contact paper or vinyl (I use contact paper because it is cheaper) :)
glass pan or dish
Q-tip
Etching Cream (one bottle will last you FOREVER!!)

To be sure that you get the right product, this is what the etching cream looks like:


Decide on a font that you would like to use...be wary of using fonts with small intricate lines. Be sure when you cut out the font that you MIRROR the image. Remove the paper backing from the contact paper and apply the contact paper to the bottom of the glass dish. (Not the serving side..but the very bottom.)

If you are using the X-acto knife method, you will need to print out your image (MIRRORED) on the contact paper. Be sure to use a laser printer for this..an ink jet printer will just smear. Remove the contact paper and center it on your pan or dish. Here comes the fun (haha) part..using the X-acto knife and the image that your printed, cut out the letters from the contact paper. (Now do you see why the Cricut and Silhouette make this so much easier!)

When you look at the dish, it should look something like this:


Apply the Etching Cream. I like to use a Q-tip for this part and I apply a fairly generous amount by just dabbing it on. If you brush it on, your pan with end up with a painted look.

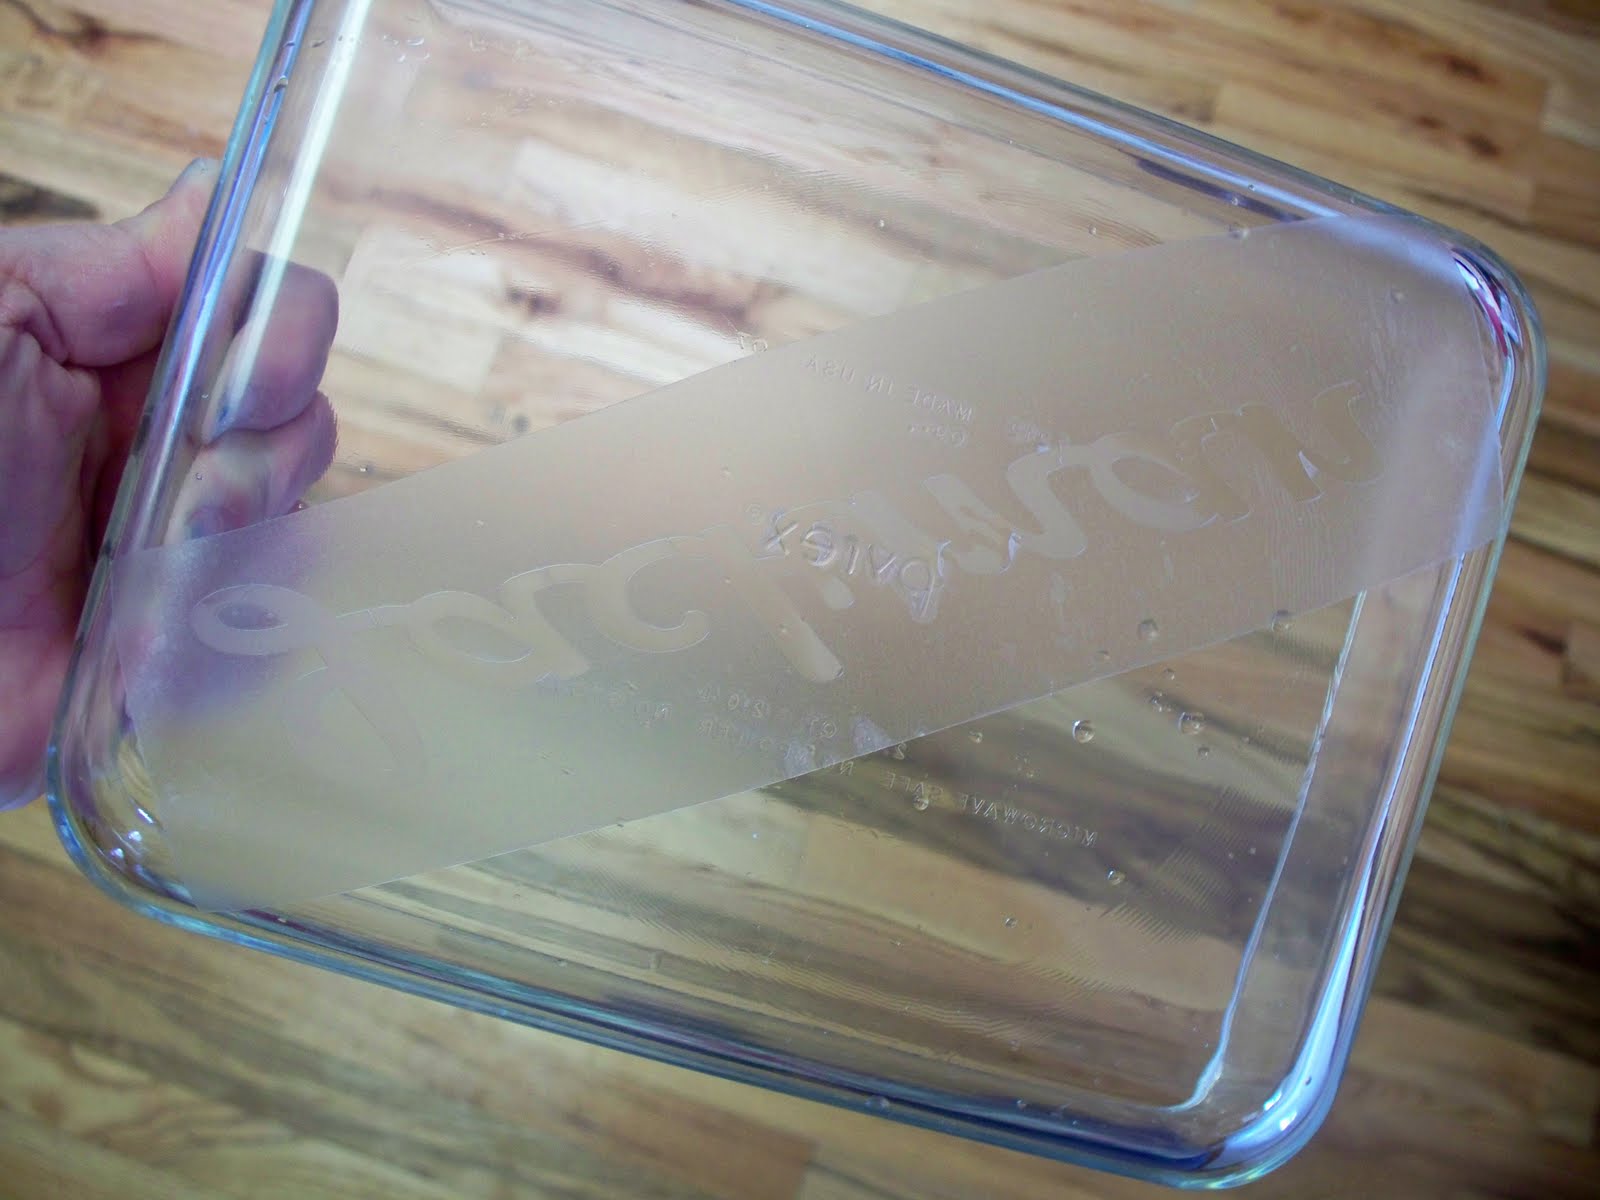
This is how my pan looked:


Wait 5 minutes and then rinse off under cold water.


The first time I made these, I was worried that it hadn't worked because I couldn't tell. But when I removed the contact paper, it became visible. This is how it looks before you remove the contact paper..you really can't tell that the letters are etched in.
But remove the contact paper and VOILA!!! There are letters!!!

This is a pan that I did a couple of weeks ago..using a thinner cursive font. You can also add flowers, hears, doodles..whatever your little heart desires...have fun with them..they are sure super easy if you have a cricut or silhouette!!

Thursday, May 20, 2010

Teacher Appreciation Gift


I have made these several times and I still think they are as cute as can be!! The original idea was found in Family Fun magazine.

Last time I made a cute little crayon box for the pretzels and gave them a book..see it HERE:

I buy the white vanilla bark and then use Candy Color to color it. Be sure to buy Candy Color and not the food coloring!!

These are the pretzels that I used. They work perfectly.


I've done it 2 ways
1) Dip the first end, let it set up and then dip the other end.
2) Dip both ends at the same time.

Once the chocolate it set up, then you can wrap it with the crayon wrapper. I found some really cute crayon templates HERE: I just printed them off onto colored paper.

Here is what they look like before the wrapper...not very cute.


And what a difference the wrapper makes.

Sunday, May 9, 2010

Mother's Day Gift


We had to come with a Mother's Day gift for the ladies in our church. At first we had NO budget. What could we do with no $$$$.

I had received this poem from one of my kids for Mother's Day. We decided that we could each make cookies and that it would cost next to nothing. At the last minute, we received $$ from the bishop and we were able to buy Granny B's cookies!! YUM!!!

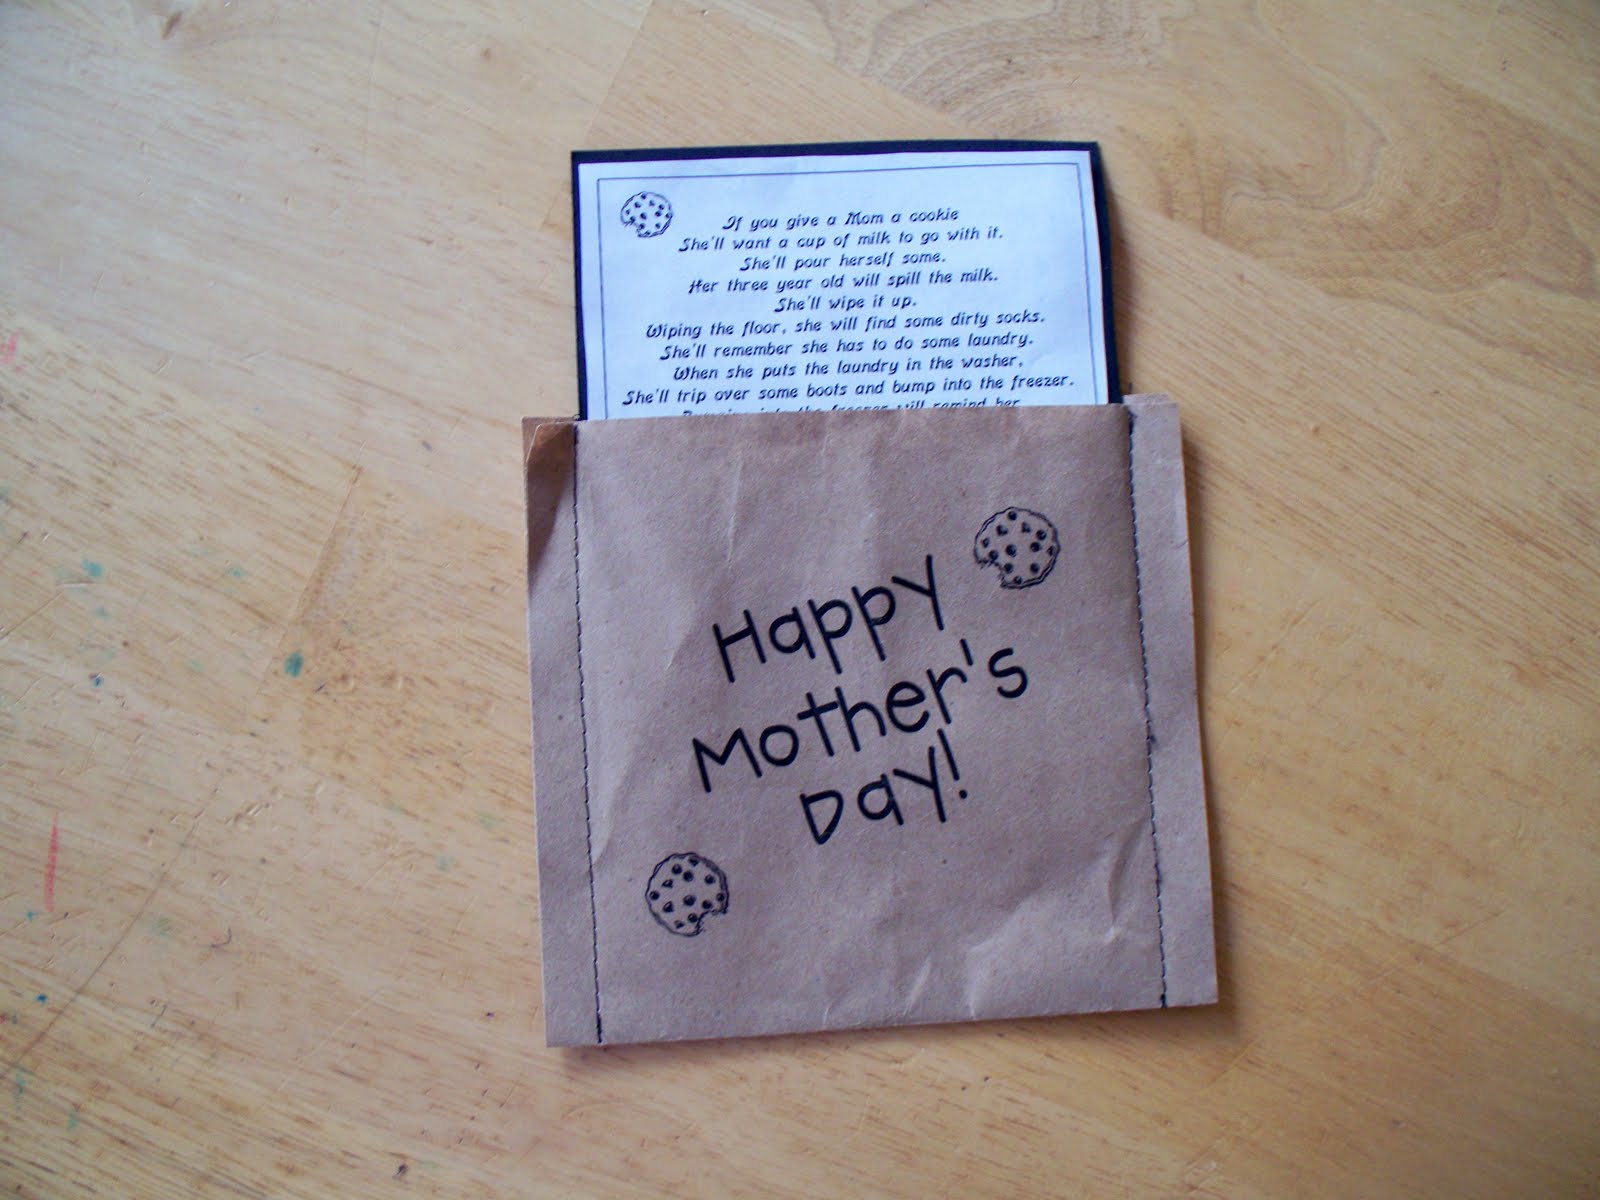
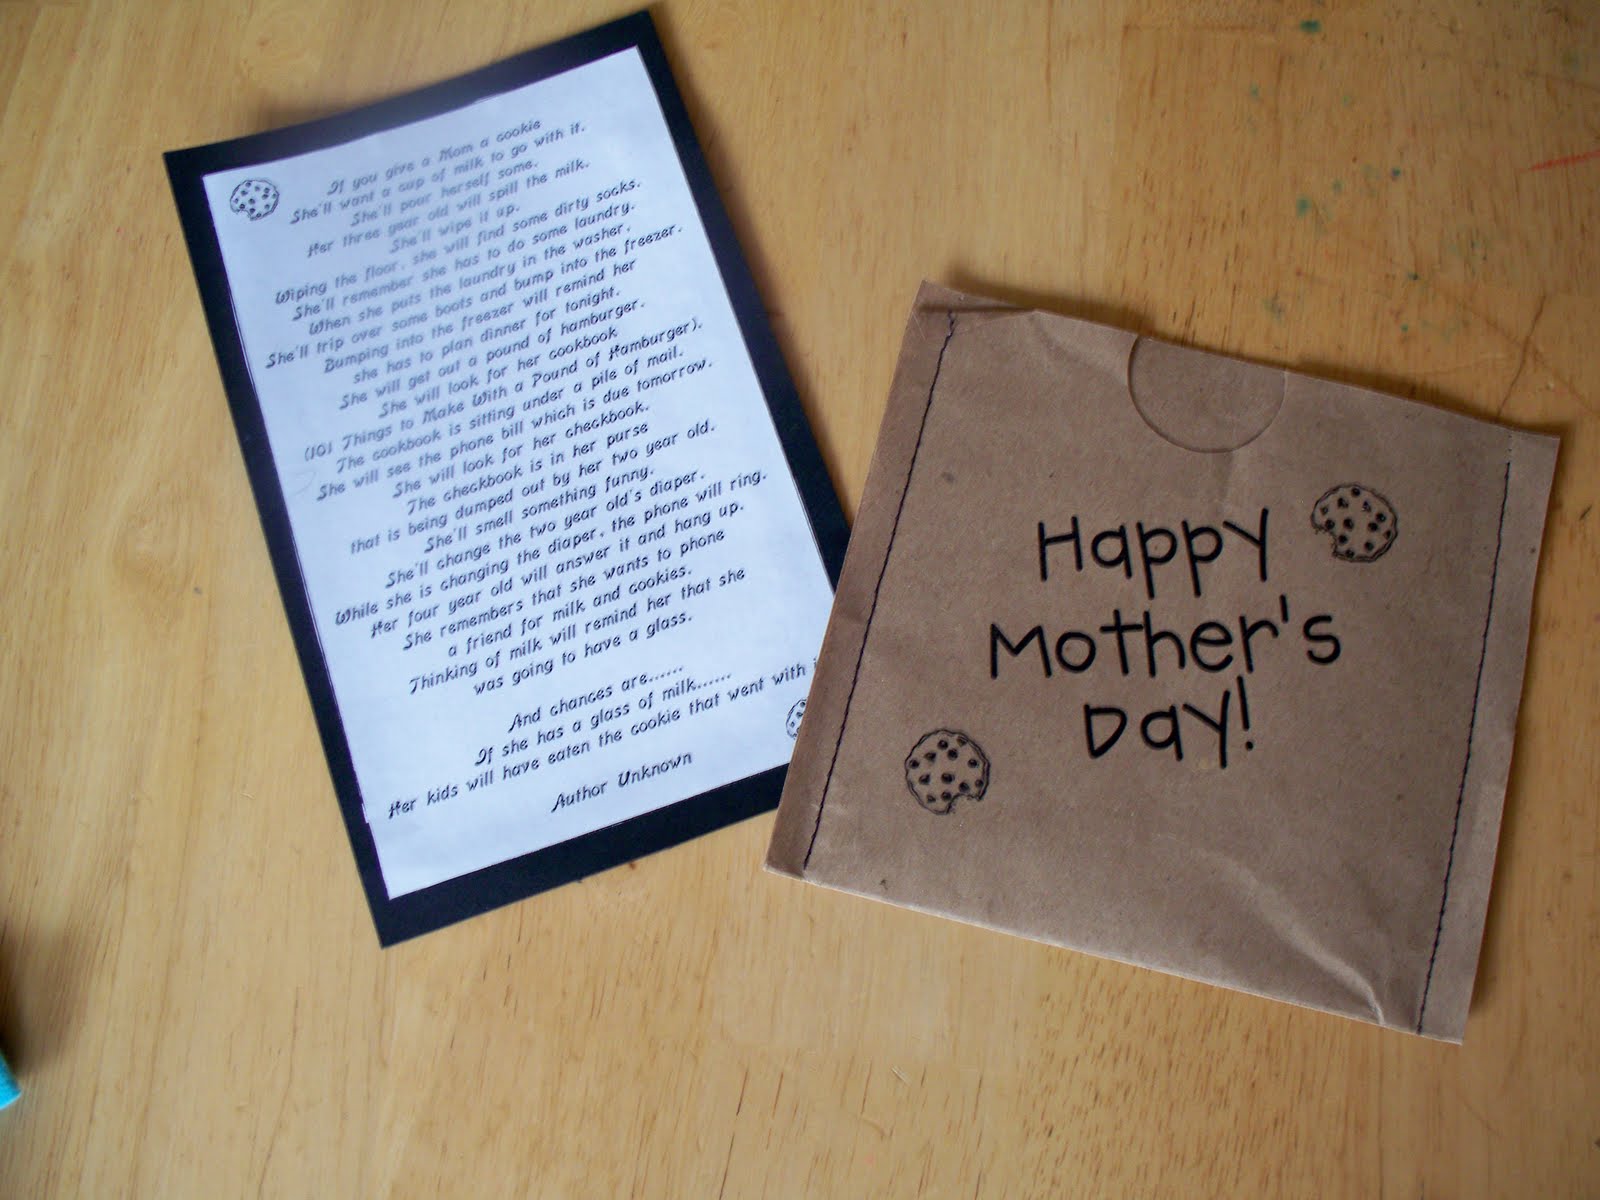
We did not have $$ to purchase bags for the cookies so we made them. I purchased a roll of packing paper from the Dollar Tree and measured the Granny B cookies. I doubled the height and added a little extra fore the seams. I ran the paper through my printer and added the clipart on the front. Then I folded it in half and sewed the sides on my sewing machine with black thread. I printed it off on white and then glued it onto black cardstock.

We put the poem in the pocket and added a cookie. I hope the Mothers liked it.

Here's a copy of the poem:

If you give a Mom a cookie
She'll want a cup of milk to go with it.
She'll pour herself some.
Her three year old will spill the milk.
She'll wipe it up.
Wiping the floor, she will find some dirty socks.
She'll remember she has to do some laundry.
When she puts the laundry in the washer,
She'll trip over some boots and bump into the freezer.
Bumping into the freezer will remind her
she has to plan dinner for tonight.
She will get out a pound of hamburger.
She will look for her cookbook
(101 Things to Make With a Pound of Hamburger).
The cookbook is sitting under a pile of mail.
She will see the phone bill which is due tomorrow.
She will look for her checkbook.
The checkbook is in her purse
that is being dumped out by her two year old.
She'll smell something funny.
She'll change the two year old's diaper.
While she is changing the diaper, the phone will ring.
Her four year old will answer it and hang up.
She remembers that she wants to phone a friend to for milk and cookies.
Thinking of milk will remind her that she was going to have a glass.

And chances are......
If she has a glass of milk......
Her kids will have eaten the cookie that went with it.

Author Unknown

Sunday, May 2, 2010

YW Handout for Journals

I made this handout for a lesson that I was teaching about Journals. I LOVE writing in my journal and I love reading my grandma's journals. I wanted to give the girls some fun ideas to get them started.

These pens are super easy to make. I bought the pens and Walmart but I also saw them at Dollar Tree. Simply measure the length of the pen and cut scrapbook paper to fit. Screw off the end of the pen and roll the paper and insert it into the tube. Replace the lid. You can add ribbons but that is totally optional.